BEAN GROWING IN THE TUNNELHOUSE- SEPTEMBER
October 1, 2024
Bean Tunnel House Growing!
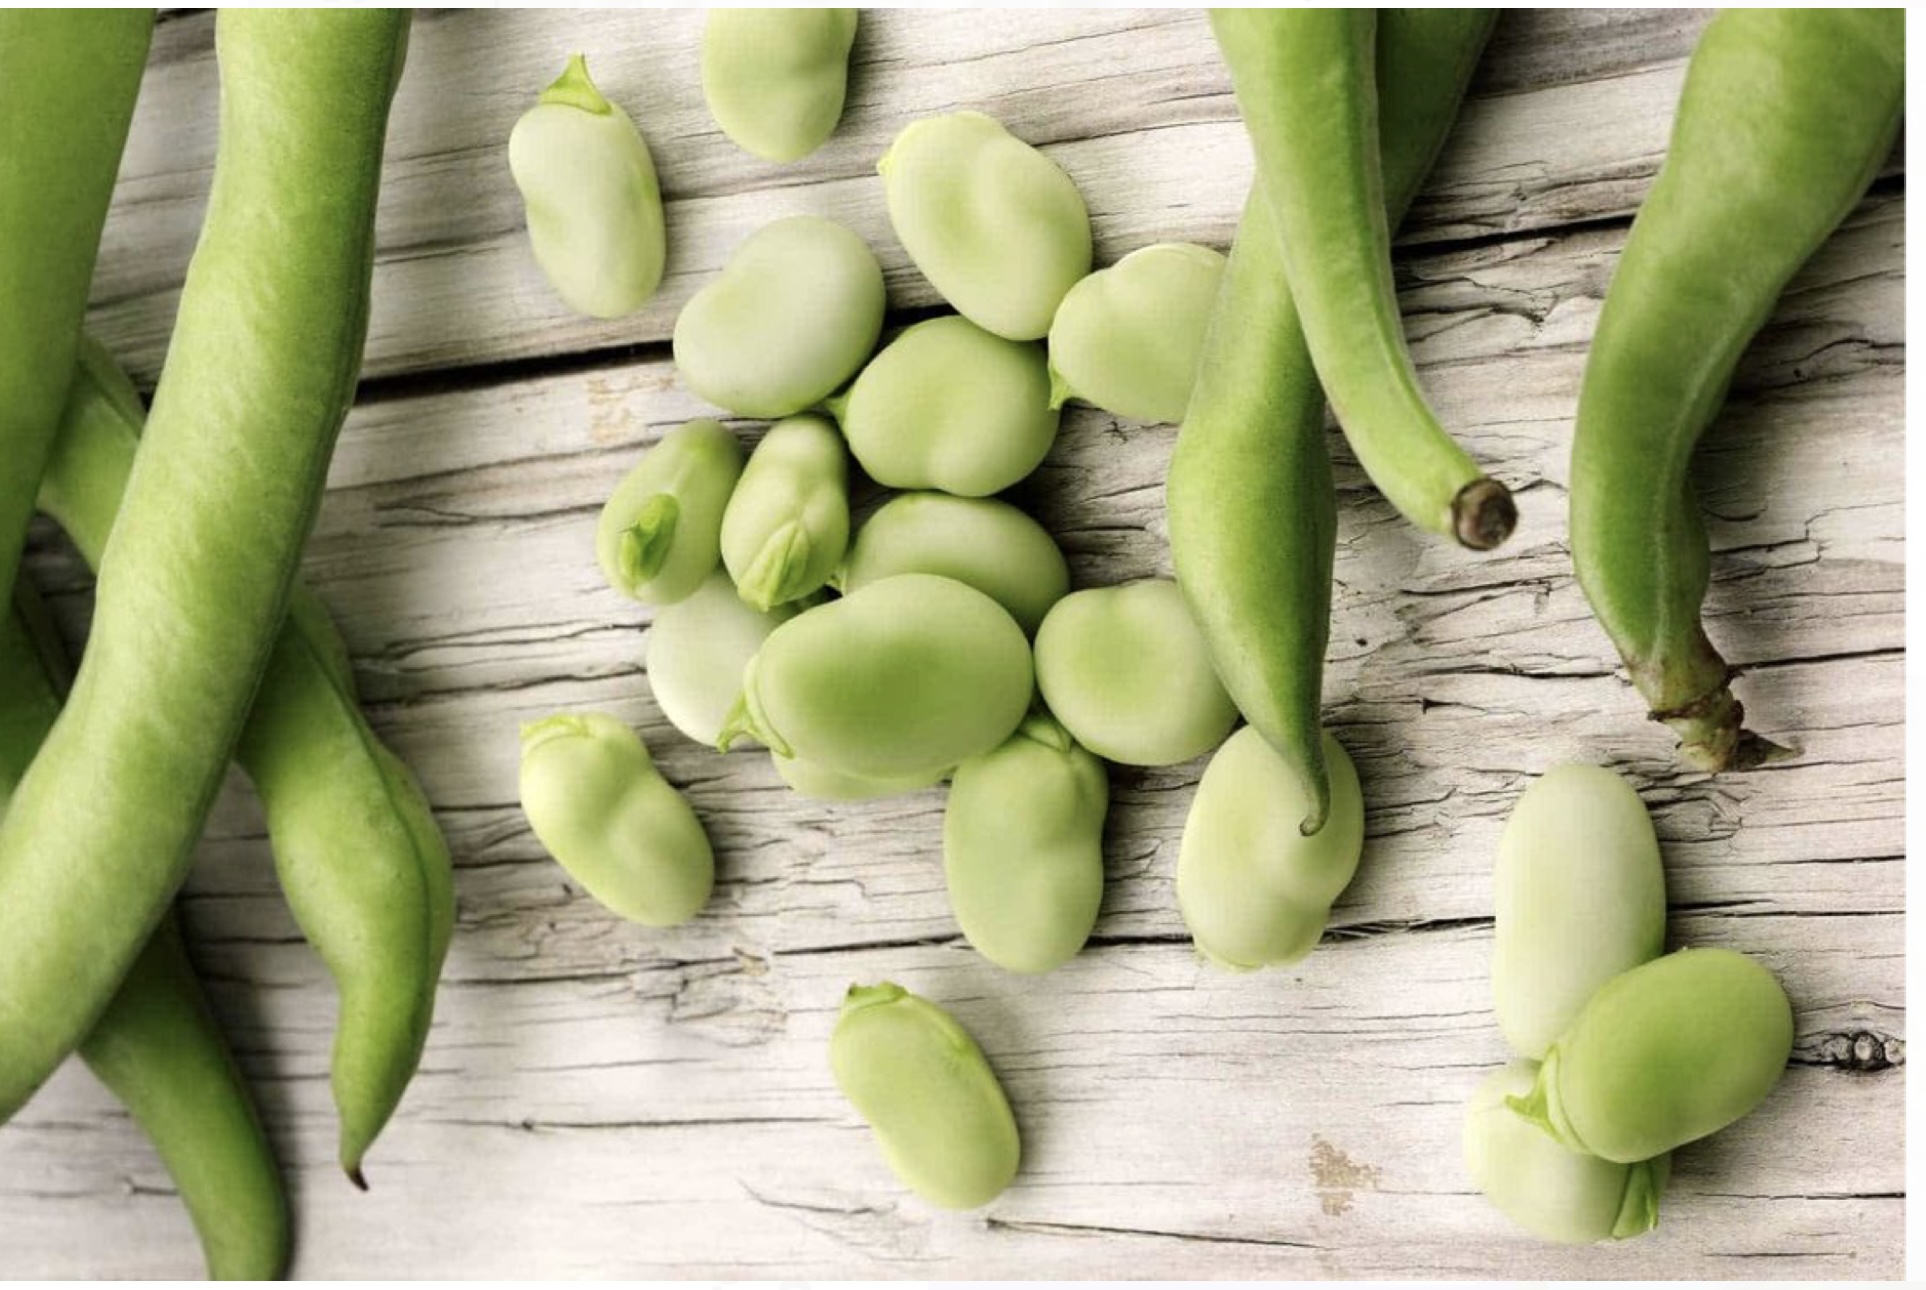
French beans, snap beans, dwarf beans, butter beans (if they’re yellow) – these crisp, tender beans are known by so many different names that we can find ourselves completely confused when deciding what we should plant. So let’s get it sorted once and for all! Dwarf beans are a string-less variety of bean that grows, not as a tall runner bean vine, but as a low tangly bush, usually reaching around 18cm high. The beauty of these beans, apart from the fact that you don’t need to supply supports for them, is that they produce a harvest in 8-10 weeks from sowing – that’s a fortnight faster than runner beans.
Having said that, dwarf beans are a half-hardy plant, and like their taller cousins, won’t fare well until soil temperatures consistently hover at around 20 °C. If you live in all but the warmest regions of the country, that can mean your bean seed must wait until late October or November, or even later, to be sown. And that even if you’re in a warmer region, sowing dwarf beans in the cooler months isn’t going to be successful. Of course, all this changes when you have a tunnel house! Suddenly, your dwarf beans may be ready to harvest before Christmas, even if you’re at the bottom of the South Island, and that you get to enjoy dwarf beans for 8 months of the year if you’re in Northland. So, what are you waiting for!
Ground work
Warning: Compost and animal manures can pose a risk to human health. Learn how to work with them carefully before using them in your tunnel-house.
Ideally, prepare your tunnel house for dwarf beans a month in advance as this allows nutrients to break down. But if you’re not able to work ahead, proceed, anyway. Dwarf beans prefer a deeply loosened soil, and if the tunnel house ground hasn’t been used for some time, it will almost certainly be compacted. In any case, loosen the soil with a garden fork to the full depth of the tool’s tines. Avoid actually turning the soil over, as by doing so you are burying any nutrients remaining in the top layer. Instead, press down on the top rung of the fork head, then rock the tool back and forwards in the soil. Lift it, and repeat just a couple of centimetres further on. Once you’ve loosened the soil in one direction, repeat, in a cross-wise direction.
The tunnel house ground should now be loose enough to enable you to stir (rather than ‘dig’ in the nutrients you are about to add). These includes 3-4 buckets of well-made compost, plus a scattering of sterilised animal manure and chopped seaweed per square meter (unless these was been added to your compost when you were making it). Don’t be tempted to overdo the nitrogen as your beans will grow foliage at the expense of ‘fruit’. Finally, crumble over 2-3 handfuls of garden lime per square meter. Water all the ingredients into the bed with a garden hose or several cans of water per square meter. Leave it to drain, then water again a few hours later. Once the soil has been soften by the moisture, use the back of a rake to break up any lumps and bumps still present. Unless you have other plants growing in the tunnel house (which require air circulation) shut the greenhouse up for a few days to help the soil warm.
Note: If you don’t have access to organic ingredients such as compost, you can enrich your bean bed with commercial vegetable garden fertiliser at a rate of 40-60 grams per square meter. However, bear in mind that bean seed is very sensitive to chemical fertilizer, so if adding them, do so at least two weeks in advance, and water and stir the ground with a garden fork daily to help disperse it into the soil. Alternatively, if you don’t have time to wait the two weeks for the fertilizer to settle into the ground, you can apply a sterilised commercial liquid feed around the base of the young plants once they are established.
Sowing
Hurry along germination by soaking your bean seed in cold water for an hour before sowing. When ready to sow, create 2-4cm deep pockets in the bed, spaced 20cm apart. (Some growers prefer to sow their beans closer together, but in a tunnel house situation, where air circulation isn’t as good as it is outdoors, don’t be tempted to do this. Beans tend to attract fungal disease, and ventilation is so important for keeping it at bay.) Cover the seed, and keep the soil damp at all times. Where it is safe to do so, scatter slug and snail bait around the young plants.
Note: If sowing your beans as early as possible, it can pay to ‘chit’ them first. This means that you allow them to germinate before sowing them. To do this, soak the bean seeds for an hour, then place them on a plate between two water-absorbant cloths. Leave on a warm, sunny window ledge, and keep damp (not moist). Check daily to observe progress, and once a seed has a sprout, sow it.
Maintenance
Dwarf beans sown into well-prepared ground don’t require extra feeding to produce a great harvest. But you do need to keep a watchful eye on them for any signs of fungal disease. In the first instance, avoid its arrival by ventilating carefully. On all but the coldest of days, keep the plastic door to the tunnel house partly open (and always cover the gap with a net to keep out animals, or use a Morrifields mesh door for this purpose). Keep the roof vent and at least one window open during the day, as well as the door. Close the plastic door and window at night to lock in the heat but keep the roof vent open. At the first sign of mildew or other fungal disease, pick off damaged foliage and discard. If fugal disease continues to be a problem, consider removing one or two of the worst-affected plants to allow air to circulate more readily. Although dwarf beans don’t require supports, lifting them off the ground a little with a few short forked sticks, can also assist with air flow.
Your bean plants are more likely to remain pest-free if they don’t get a check in their growth. In a tunnel house, the greatest check to their growth is not a cold snap, but over or under watering. Water the plants only when the ground is dry to the depth of 2-3cm. When you do water, do so deeply to encourage roots to head down (rather than up, where they risk drying out). When watering the plants, always do so from their base, and avoid wetting the foliage. Watering in the morning is best as it allows time for the moisture to dry off the soil and any parts of the plants it has reached, by later in the day. Dry plants are less likely to attract fungal disease.
Harvesting
As the beans begin to appear, harvest the first as soon as they are edible (even if not full size). This helps encourage more beans to form rather than signalling to the plant that it is already setting seed so can give up fruiting (producing more beans).
Tips
Once the warmer weather arrives, mulch around your beans with pine needles or peastraw to keep the ground damp and the roots of the plants cool.
If you want to become a seed-saver, beans are a good plant to start with, especially as they often cross pollinate and produce a unique variety.
![]() Join us at Fieldays June 11-14
Join us at Fieldays June 11-14 ![]()
Discover New Zealand’s strongest greenhouses. We’ll be at Fieldays from June 11th to 14th, come visit us to chat about your next greenhouse.