DIY Compost Magic
December 4, 2024
DIY Compost for the Tunnel House!
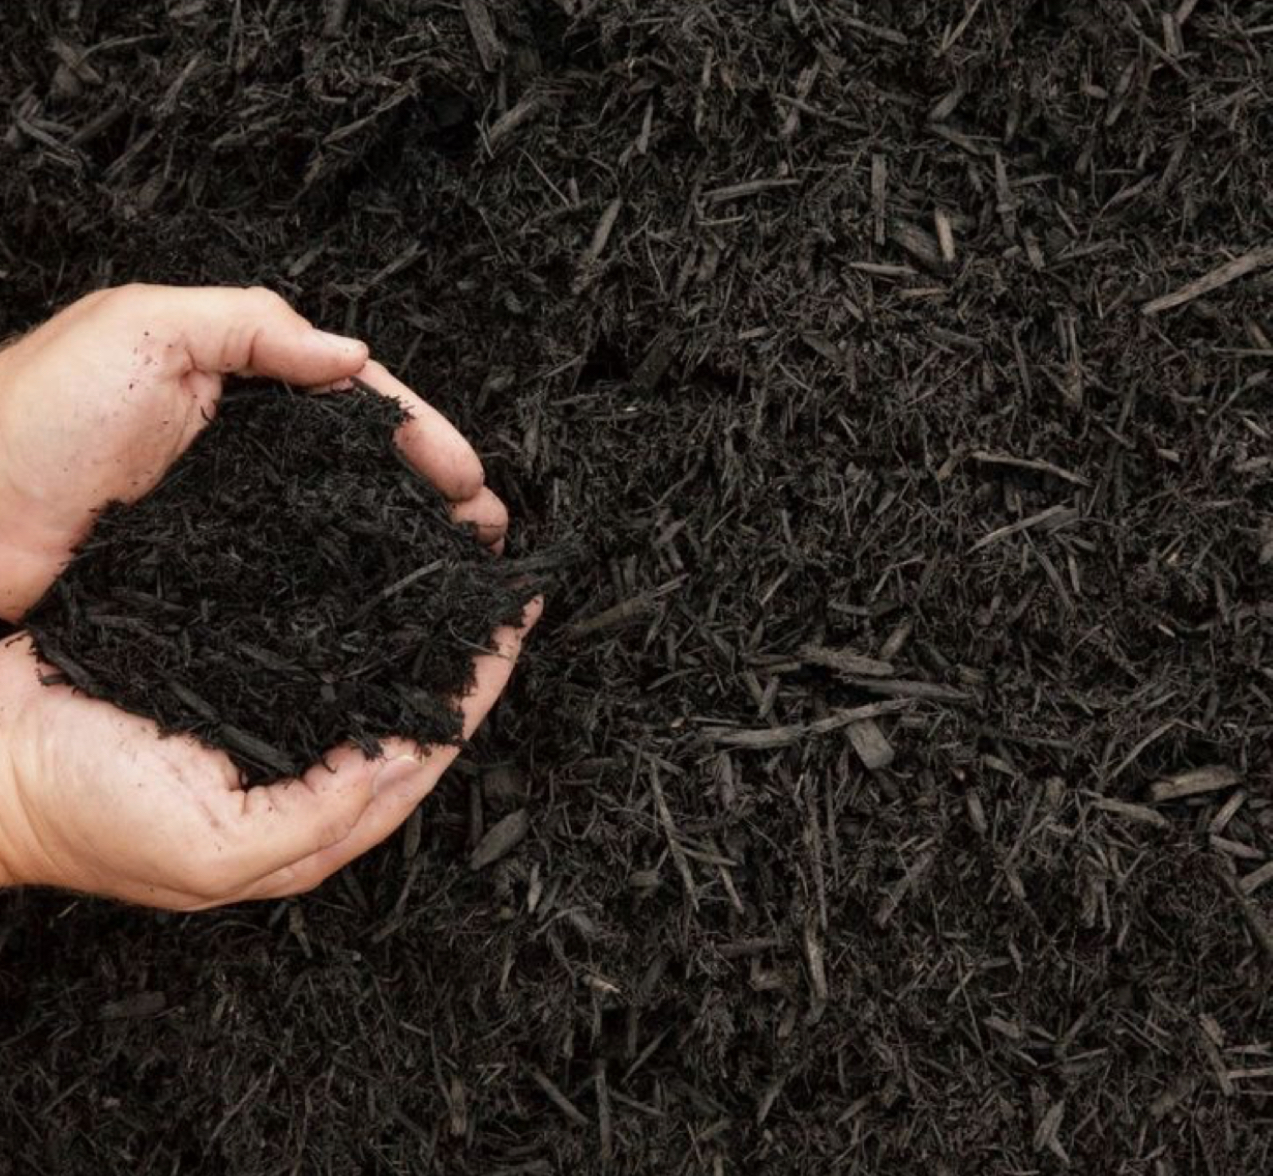
Compost – good for the garden but what, actually, is it?
As gardeners, we instinctively know that compost is good for the soil, but few us can actually say why. So, before we get into how to make our own compost, let’s take a close-up look at why it’s such a necessary addition to our tunnel house beds.
Compost is a mix of decayed, organic (naturally occurring) materials. In the natural world, this decay occurs over time, which is why we see leaf litter on a forest floor or a pile of rotting leaves under trees. However, in a garden situation, gardeners create special conditions to help natural materials decay faster.
Compost is important for our tunnel house beds for many reasons. It contains fragments of semi-decayed materials (bits of twig and leaf) that help keep the soil ‘open’ rather than compacted. Openness allows moisture and air to enter the bed and reach down to the plant roots that need it. These same fragments of organic material suck in moisture when we water our tunnel house beds, and release it again as the ground begins to dry out, keeping the soil damper for longer (especially helpful in an undercover situation that doesn’t receive rain). Compost is also packed with tiny microorganisms (including fungi) which help feed plant roots. Compost also contains essential nutrients to feed our plants and promote healthy growth, flowering, and fruiting. Who would ever guess that so much goodness could come from simple, readily available, natural materials!
Make it now!
Compost can be made at any time of the year, but November is the perfect time. That’s because warmth helps organic materials decay, and summer is just a month away! November is also a time when we’re weeding our gardens and cutting our lawns – and both small weeds and grass clippings are great additions to a compost pile. From November onwards, we’re also beginning to harvest more vegetables than ever, and the kitchen scraps from these can be added to the compost pile, too.
Safety first
Compost making seems like a natural process, and it is. But, like any gardening, it also carries risks. Reduce risk by following these basic rules:
Always wear gloves and mask when working with compost materials.
Know where your compost ingredients are coming from and don’t include any material that has come into contact with pesticides, herbicides, unsterilised manure, or other toxic material.
Build you compost pile on a non-toxic surface.
Keep diseased plants out of the pile.
Only used fresh, clean water on your compost pile.
Site your compost pile away from any run-off from toxic material including manure piles.
If building a compost bin, use only non-treated wood.
Let’s get building!
Free-standing or contained?
Your compost pile can be free standing – in which case, make it at least 1m square (if necessary, stakes and wire netting can help prevent it toppling over). Easier still, make your compost in a home made or store-bought container built for the purpose.

Bottom-up build
The base of your compost should contact the ground ground (don’t build it on a solid, non-organic base). Air is essential to help organic materials decay. To allow air to reach your compost materials, begin the build by laying down a 15cm high grid of strong sticks that cover the entire base of what will be the compost pile. The sticks will hold the compost materials off the ground so that air can reach them from beneath.
Layer up!
The warmer your compost pile grows, the faster the materials in it will decay, and the sooner your compost will be ready to use. The warmth in the compost comes from the energy given off by the microorganisms that live and grow in it. To help these organisms thrive, they need a mix of ‘green’ and ‘brown’ materials. Green material are rich in nitrogen – a source of protein for the microorganisms. Brown materials are rich in carbon – an energy source for the microorganisms. As you build your compost pile, you will need 3 to 4 times as much brown material as green material.
Add your green and brown material in layers. The first layer on top of the sticks should be brown, and about 20cm deep. The next layer should be green, and about 10cm deep. After adding these 2 layers, water them using a watering can or garden hose (aim to make the layers moist but not wet). Carry on layering and watering until your compost pile reaches the top of the container (or is at least 1m high if you are building a free-standing pile).
Top it off
To help lock in the heat your compost pile generates, pop on the lid of a store-bought container, or insulate home made compost bins or free standing piles with thick hessian sacks (if your pile is free standing, hold the sacks down with rocks to stop them blowing off).
Count down
If your compost pile was correctly made, it will begin to heat up within a week. You will notice it beginning to grow lower as the material in it breaks down, and it will feel warm to touch. It may even give off steam! Depending on weather conditions, the finished compost will be ready to use on the garden within 4-6 months.
To turn or not to turn?
Some gardeners like to turn their compost piles after a few weeks. Turning is when you disassemble the compost pile, and reassemble it again so that the material on the outside and top of old pile goes into the middle of the new pile. This gives all the material a chance to heat up and break down more evenly. Some gardeners don’t bother to turn their compost piles, and accept that some materials will not have heated up very much.
Sources of ‘green’ and ‘brown’ materials
Green
lawn clippings
green weeds (keep out those with seeds)
green leaves
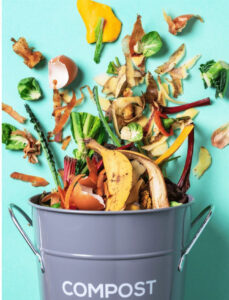
kitchen fruit and vegetable scraps
seaweed (it’s technically brown but it’s also nitrogen rich)
Brown
mulched twigs and prunings
coffee grounds
tea leaves
brown (autumn) leaves
straw
eggshells
untreated sawdust (just a few handfuls per brown layer)
Tips for making a better compost
A compost pile will heat up faster if you make it over a period of 1-2 days. To do this, assemble all the materials you will need ahead of time so that they are ready to use when you need them.
Compressing the layers of browns and greens as you add them will help speed the heating-up process.
Help your compost heat up faster by siting the pile in a place that receives full sun for as much of the day as possible.
Add moisture to your compost pile as it starts to decaying.
If conditions are very wet, and your compost does not have a lid, cover it with a sheet of plastic to prevent it from becoming saturated.
