Cut into Cabbage this Winter!
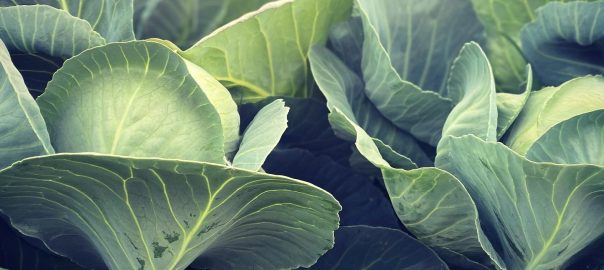
Who doesn’t love a sweet, tender cabbage in the middle of winter! Whether you stuff the leaves, finely slice them into a crisp coleslaw, or steam and smother them with black pepper and butter, a cabbage is a cool season treat we can’t do without. While winter cabbages will struggle on in the big outdoors, perfect, unchecked specimens from the tunnel house provide the biggest, tastiest returns. In fact, they can be so tender that even their out leaves can be used to make a meal! Growing cabbages isn’t difficult, but one of the biggest problems facing gardeners is what type of cabbage to grow at which time of year, so let’s clear up the confusion before we go any further!


Cabbages for all seasons
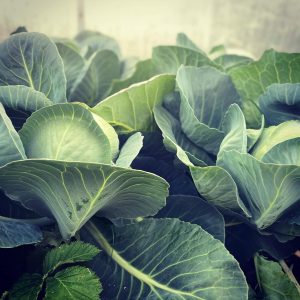
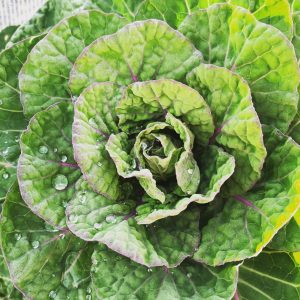
Cabbages are defined by the season in which they are harvested. For instance, a ‘spring cabbage’ isn’t planted in spring, it’s harvested in spring. Some cabbages are known as ‘all season’ cabbages, and can safely be planted at all times of the year with the possible exception of summer if you live in a very warm part of the country. Tunnel house cabbages are best saved for growing and harvesting in autumn and winter (because outside of these seasons, you’ll want your undercover space for growing heat-loving crops). That means you’ll be looking for ‘winter cabbage’ varieties, and among these, some of the best for tunnel houses are the ‘space saver’ and ‘mini’ cabbages (they come in both red and green). These smaller heading varieties make the best use of your limited space because they can be planted more closely together than larger heading varieties.
Seed-raising
It’s always best to sow your own cabbages from seed. In fact, any brassica (cabbage family plant) is best home-sown because to buy-in seedlings is to risk bringing into your garden the dreaded brassica disease ‘club root.’ However, if you live in a cooler part of the country, raising cabbage seedlings needs to start no later than mid-March, so if you don’t have cabbage seedlings on hand towards the end of autumn, you will need to head to a reliable source for those that you require.
To raise your own seedlings, fill individual-cell punnets with quality, commercial seed-raising mix. Water well and allow to drain thoroughly. Sow seeds, one to each cell, covering them with 4mm of mix. Germination takes place at around 23-24°C (a sunny window sill or warm room will provide this during warm days, but if conditions are cool, use a seed raising pad or pop your punnet, on a saucer, on top of your hot water cylinder until the seed germinates). Once seed has germinated, take the punnet into your tunnel house. Keep the mix damp but not moist, and protect the seedlings from pest attack with an appropriate bait (follow instructions on the container carefully), or by checking them each night with a torch, and removing nusiance
bugs. Once the seedlings have developed 3 true leaves (leaves that look like those on an adult plant), they are ready for transplanting in prepared tunnel house ground.
Ground work
Cabbages taste best when they grow rapidly in cool conditions, which is why your winter tunnel house environment is perfect for them. Provide the best growing medium by digging in 3-4 buckets of mature compost per half half square meter of ground, along with a scattering of sterilised animal manure pellets, and a sprinkling of blood and bone. Water the ground deeply (so that it is damp to at least the depth of a garden trowel. Leave it to drain over night.
While you are waiting, prepare a concentrated liquid feed by soaking together, for a week, in equal quantities, chopped seaweed (seaweed extract can be purchased from the garden centre if you cannot lay hands on kelp), and shredded comfrey leaves. Dilute your liquid feed at a rate of 1 to 4 for use as liquid manure feed.

Sowing and Transplanting
Gently tap the cabbage seedlings out of their individual cells (the best way to do this can be to up end the entire punnet onto spread fingers, supporting the little plants as they all drop out of their cells at the same time). Use a trowel or dipper to create planting pockets (30-40cm apart for space-saver cabbages and 50-60cm apart for full sized cabbages) in your prepared tunnel house bed. Pop the seedlings in (without handling their roots), and gently firm the soil around them. Water around the base of each plant to settle it into position.
If you are not prepared to pick slugs and snails off the young plants after dark with the help of a torch, scatter low-hazard slug and snail bait around the seedlings, and keep children and animals well away from the area at all times.
Maintenance
Keep the ground around the seedlings damp but not moist, and free of weeds. Water them with your liquid fertilizer one a week for the first 4 weeks of growth. Provide plenty of ventilation by opening two ventilation points during the day. Reduce to one (partially open) at night. Each sunny day, open the door to the tunnel house fully, and protect the entrance from birds and other animals with a screen door, or with netting held in place with clothes pegs. Close the door before the day cools down.
Tips:
When watering, do so around the base of the plants, and avoid wetting the leaves.
When harvesting, take your cabbages first from the middle of the patch, and then from between other cabbages. This helps provide as much airflow as possible around the remaining plants.
Take off any outer leaves that show signs of disease, as soon as you spot it.
Remove the stump of the cabbage after cutting it to prevent the chance of disease setting in to the cut.
If the unexpected happens and your cabbages begin to run to seed, harvest them in the early stages of this transition so they can still be used in the kitchen.