Polythene vs Polycarbonate Greenhouses: What’s Right for Your Garden? Posted on June 26, 2025July 1, 2025 by info@morrifield.com
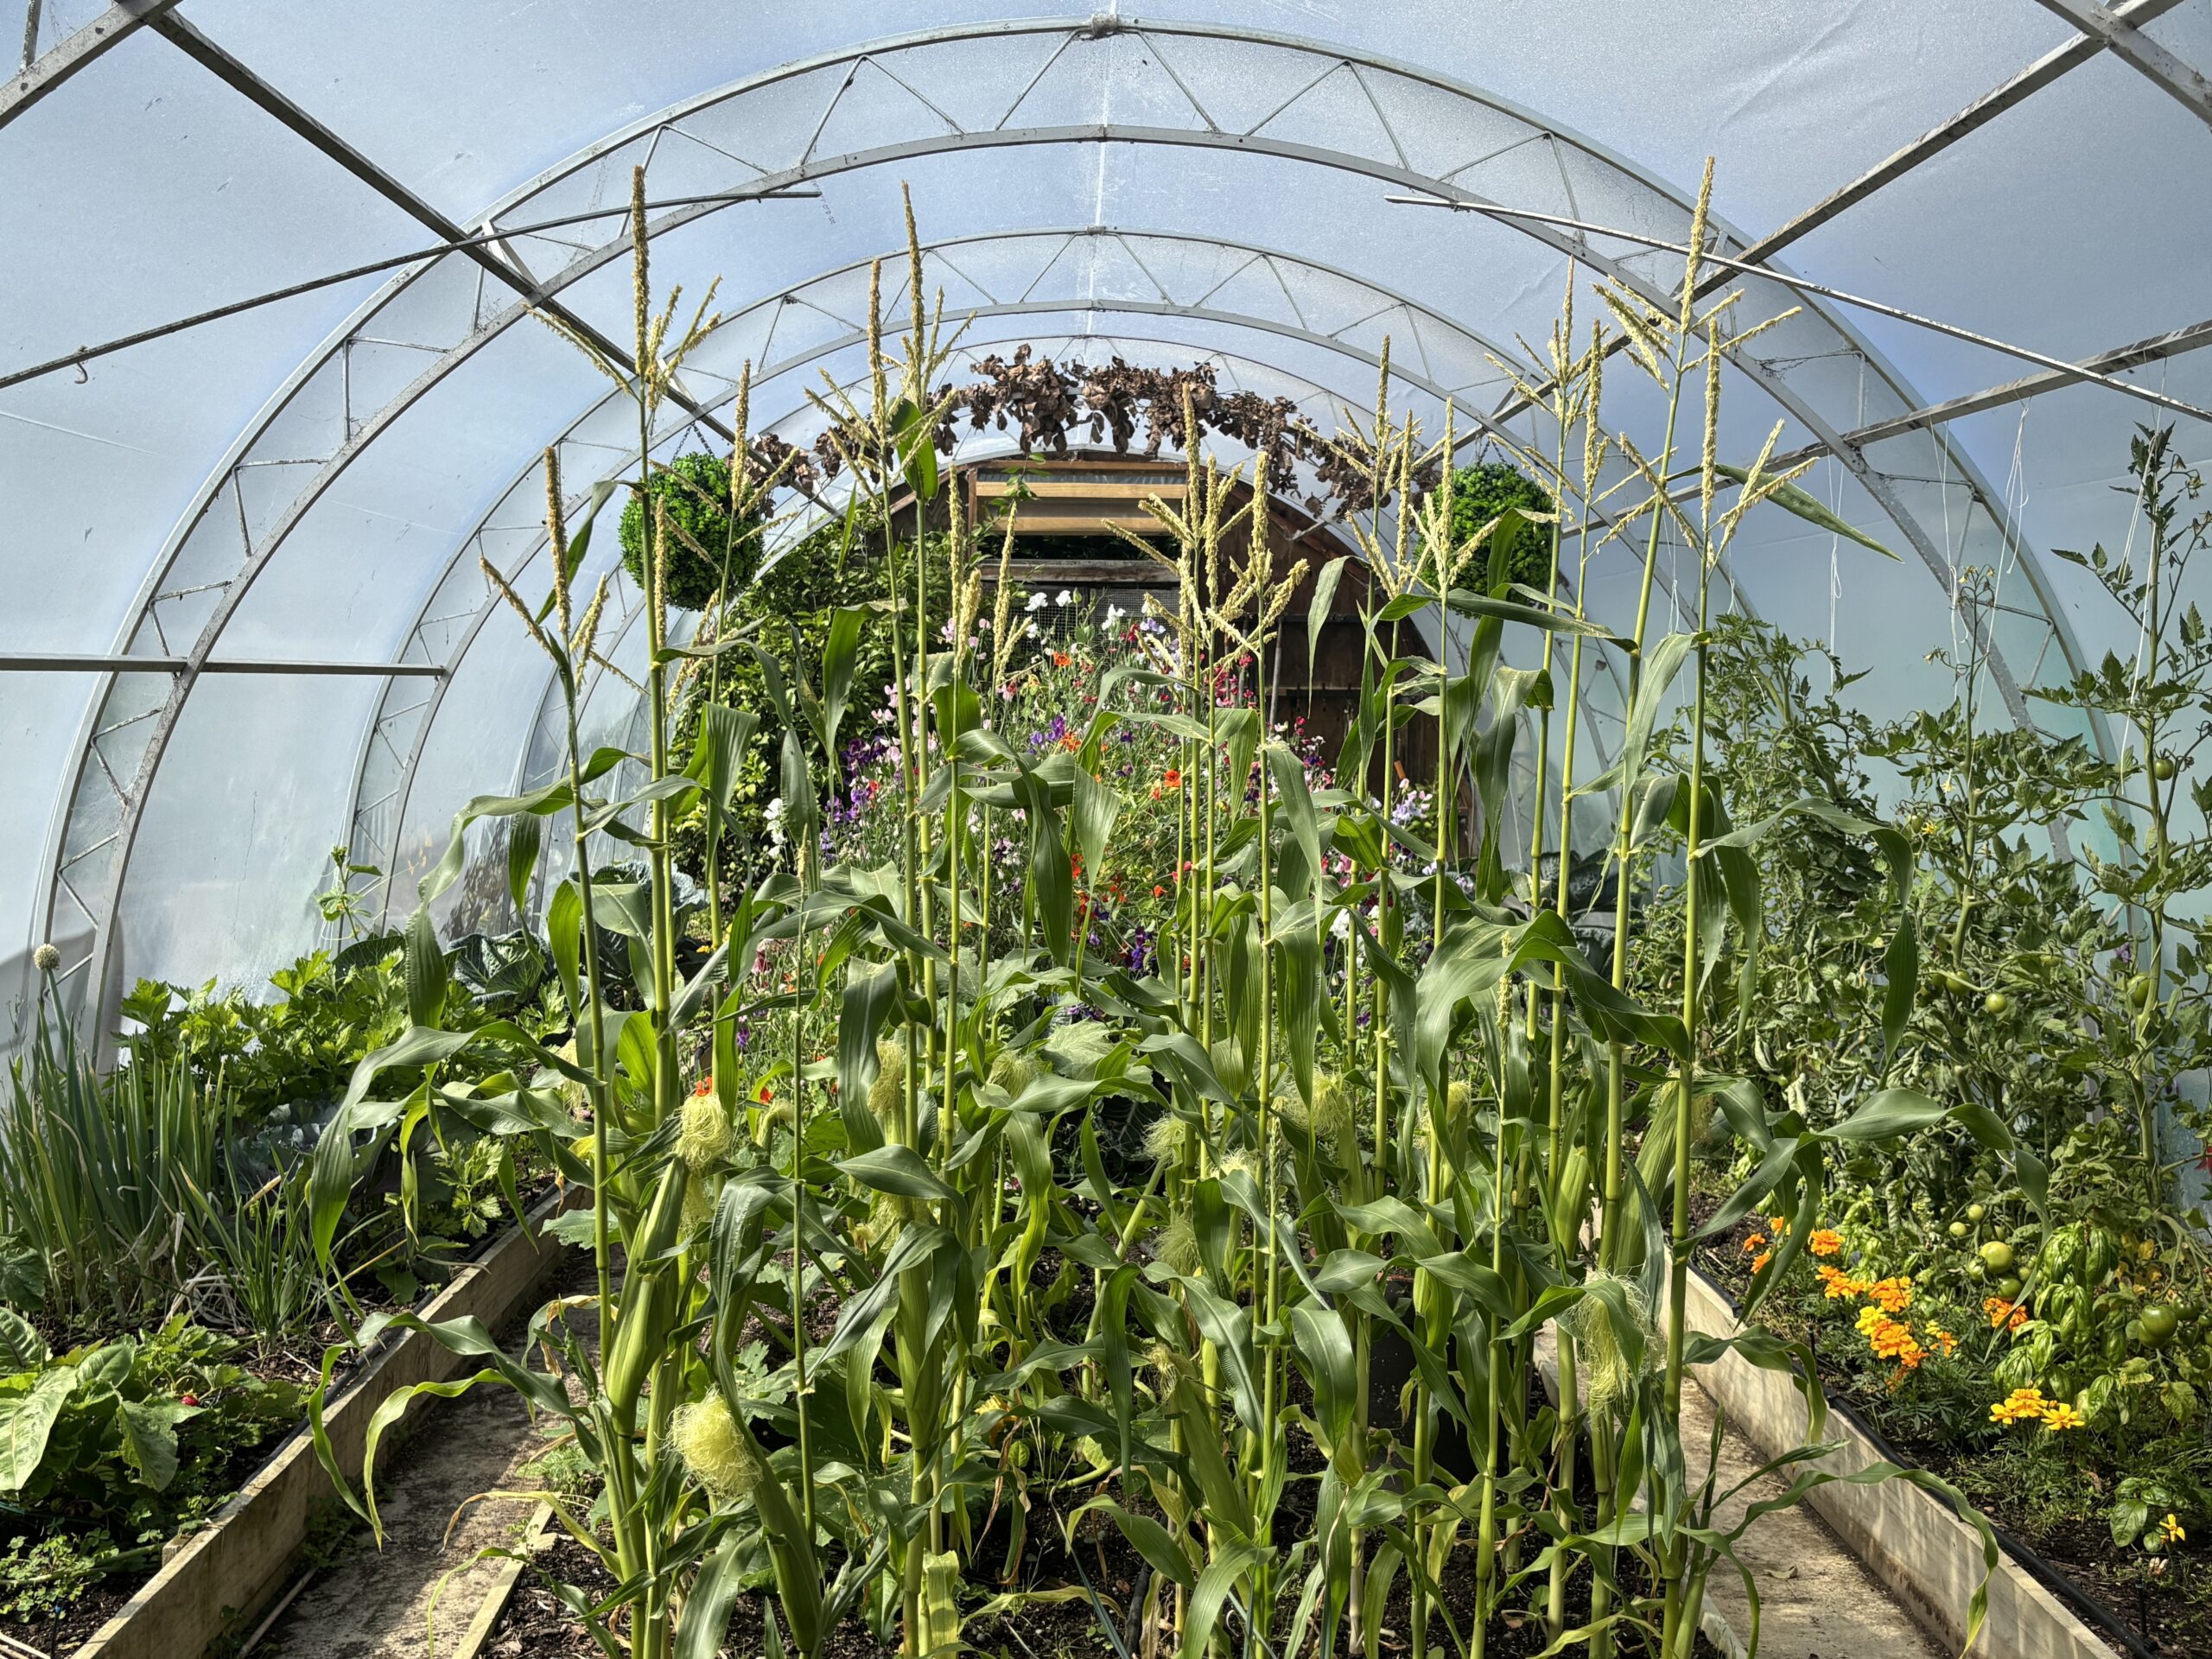
Eat Better, Live Better: How Greenhouse Growing Supports a Healthier Lifestyle Posted on June 12, 2025 by info@morrifield.com
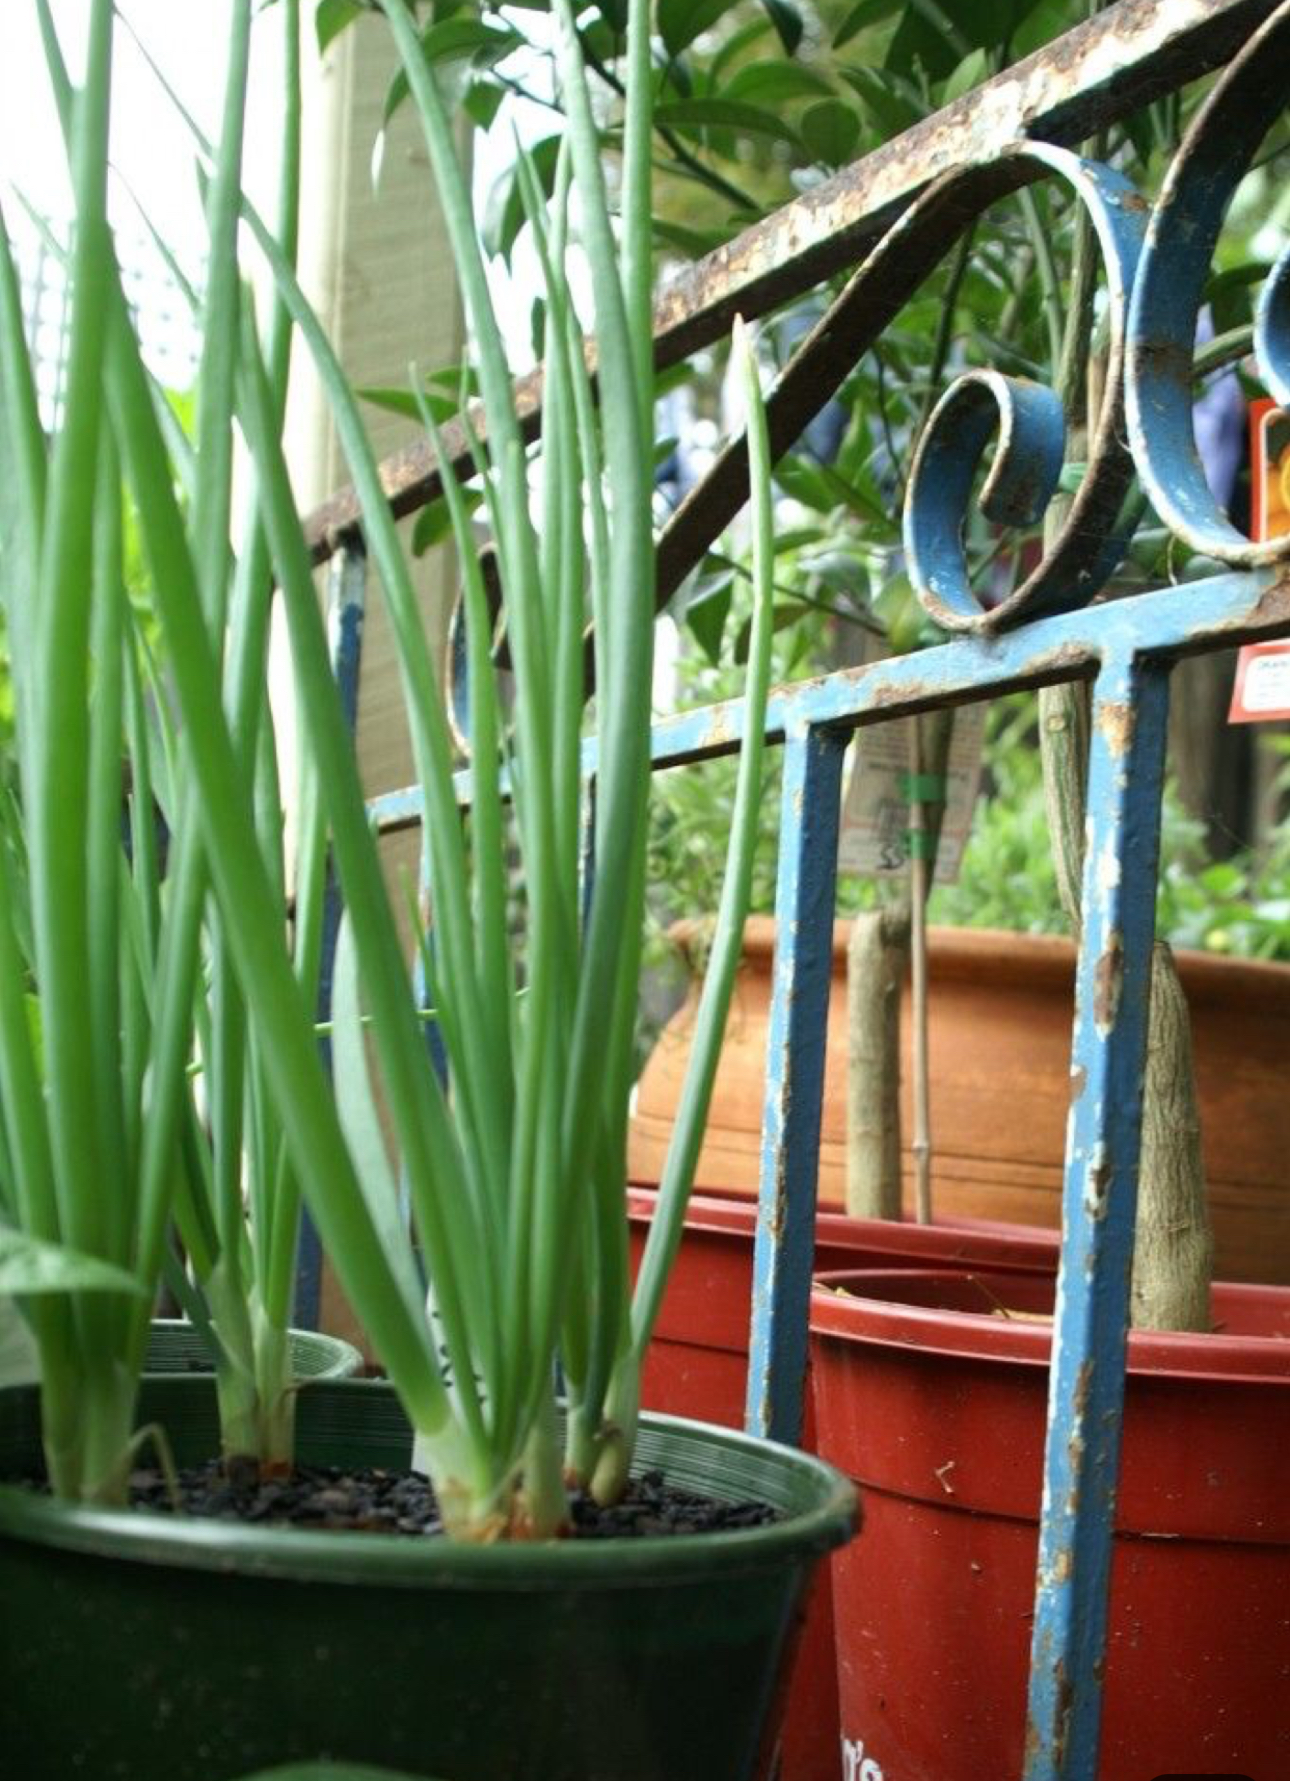
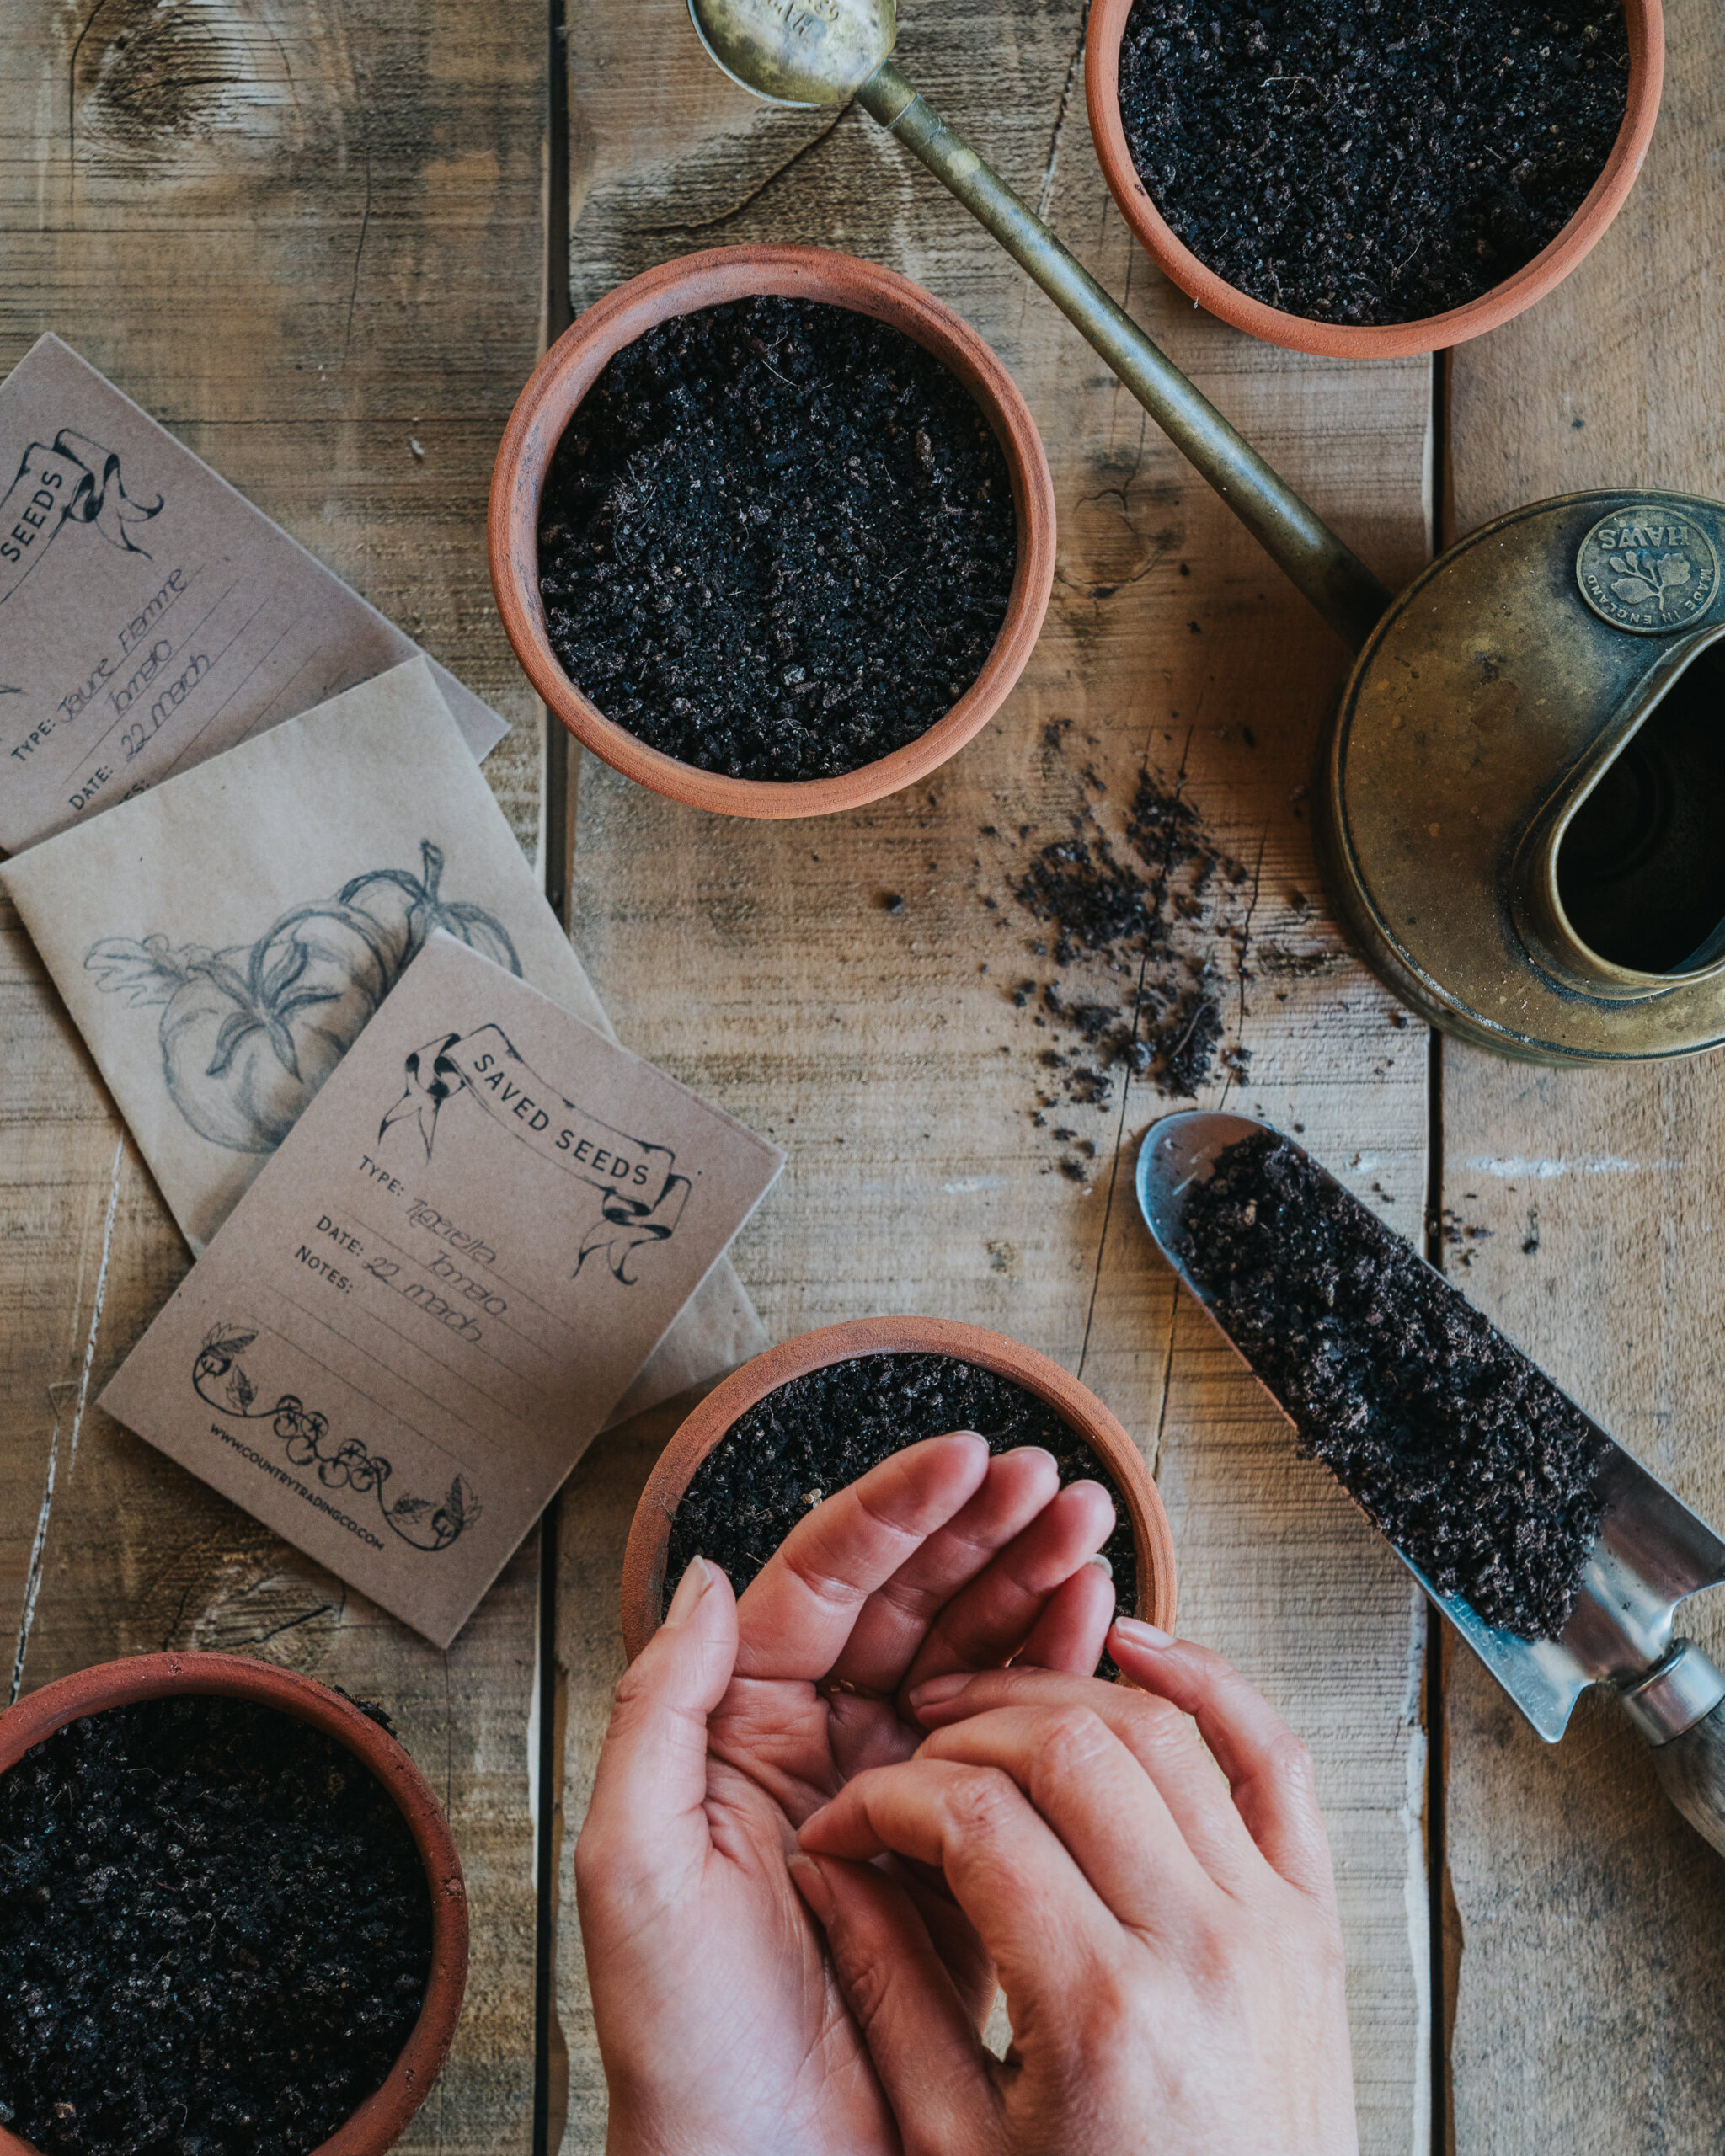
Seed Raising – Save $$ Sow your own seeds Posted on April 1, 2025April 1, 2025 by info@morrifield.com
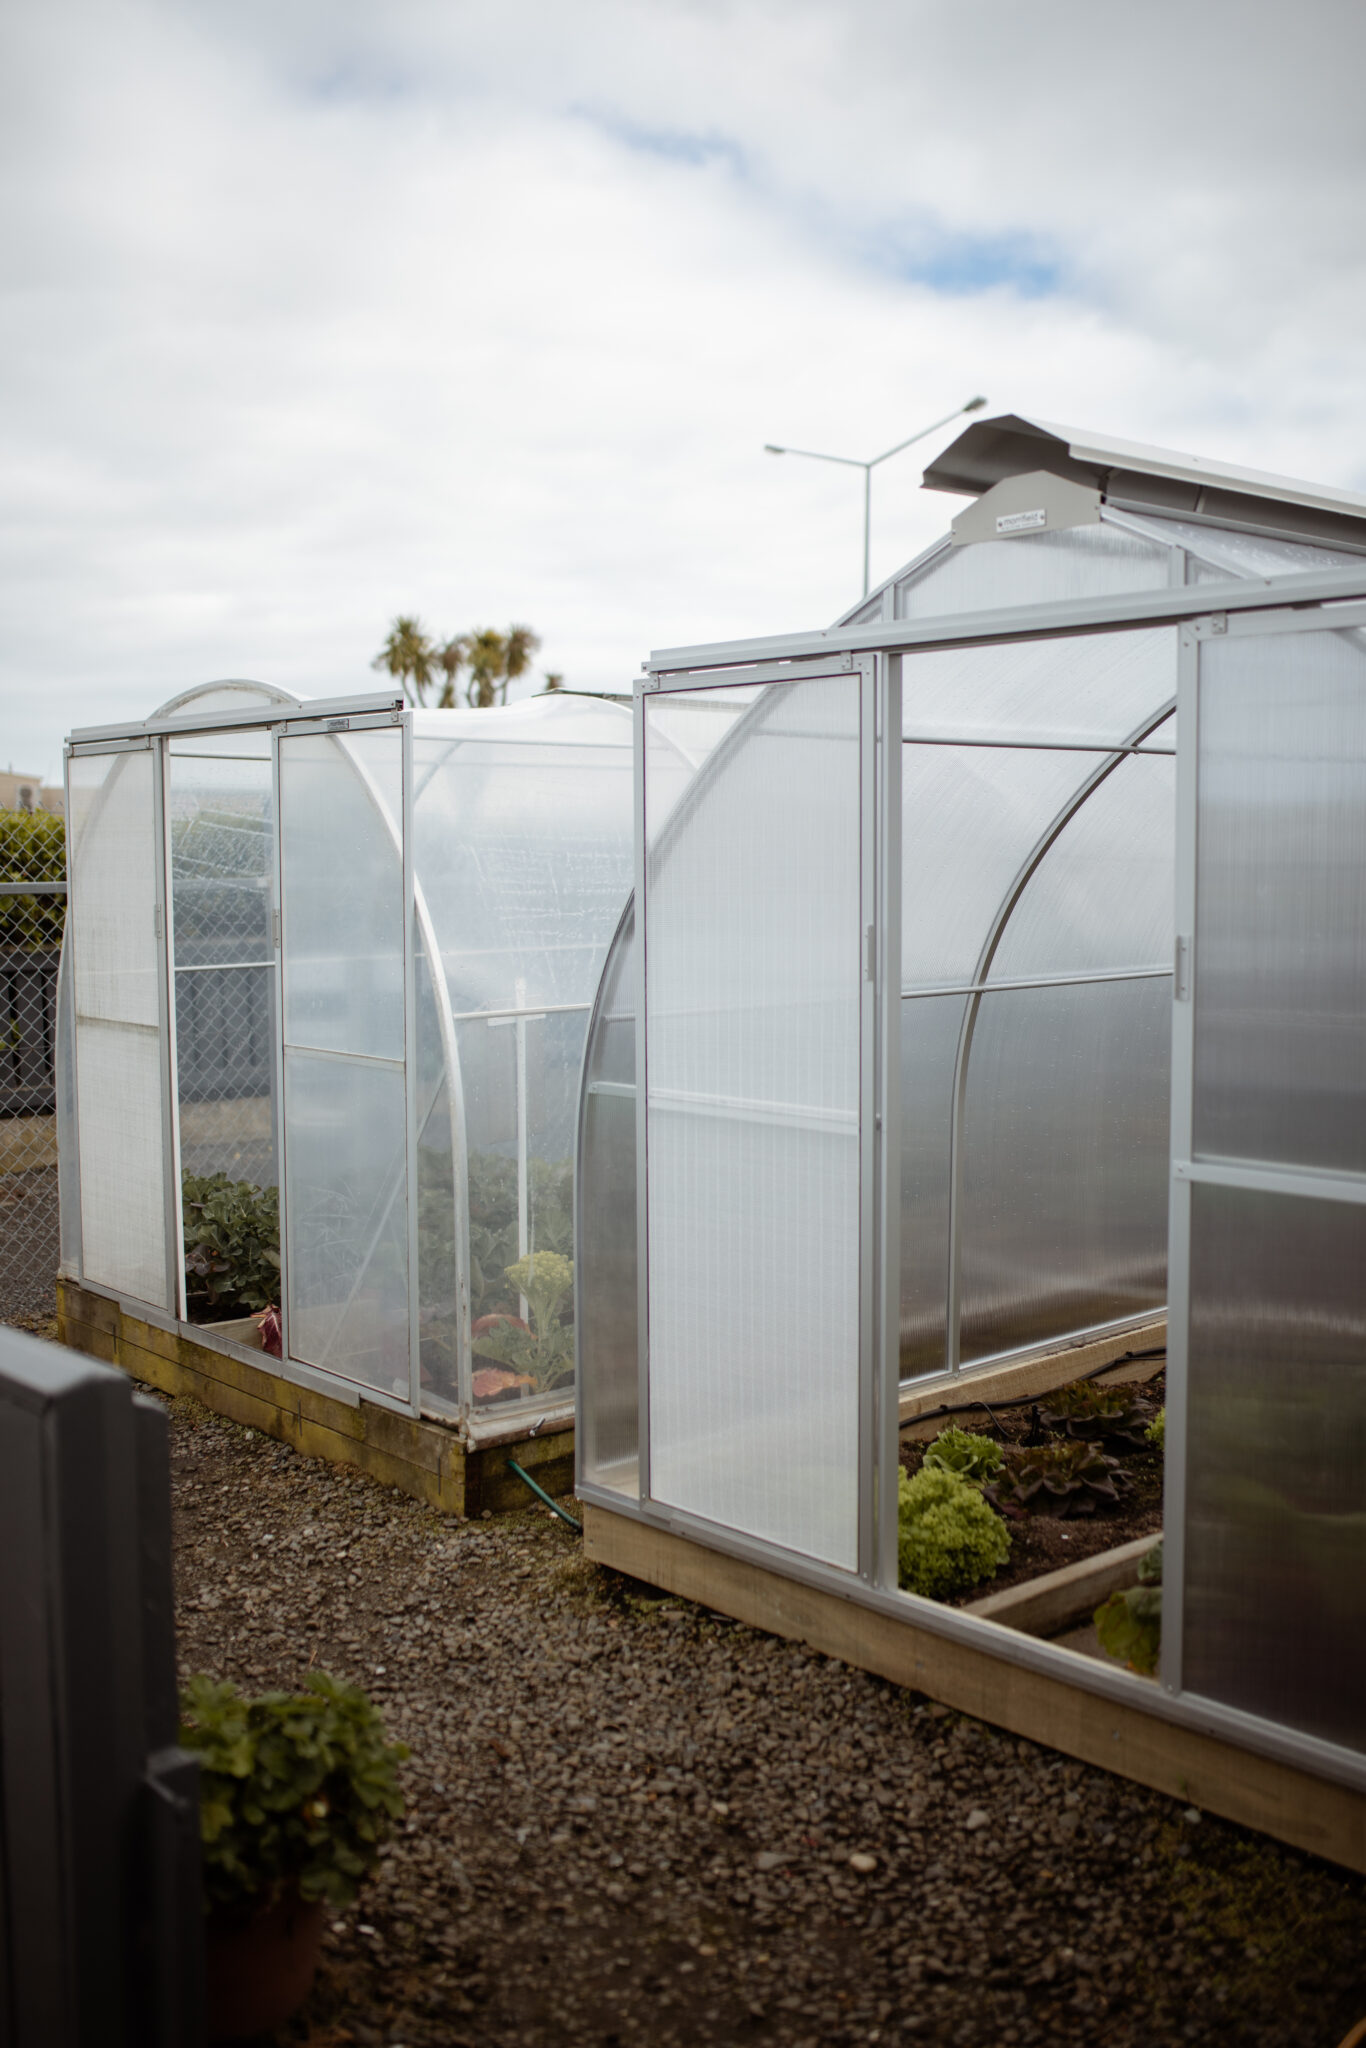
Glasshouse vs Polycarbonate Greenhouse: Which is Better for New Zealand Gardens? Posted on March 17, 2025May 5, 2025 by info@morrifield.com
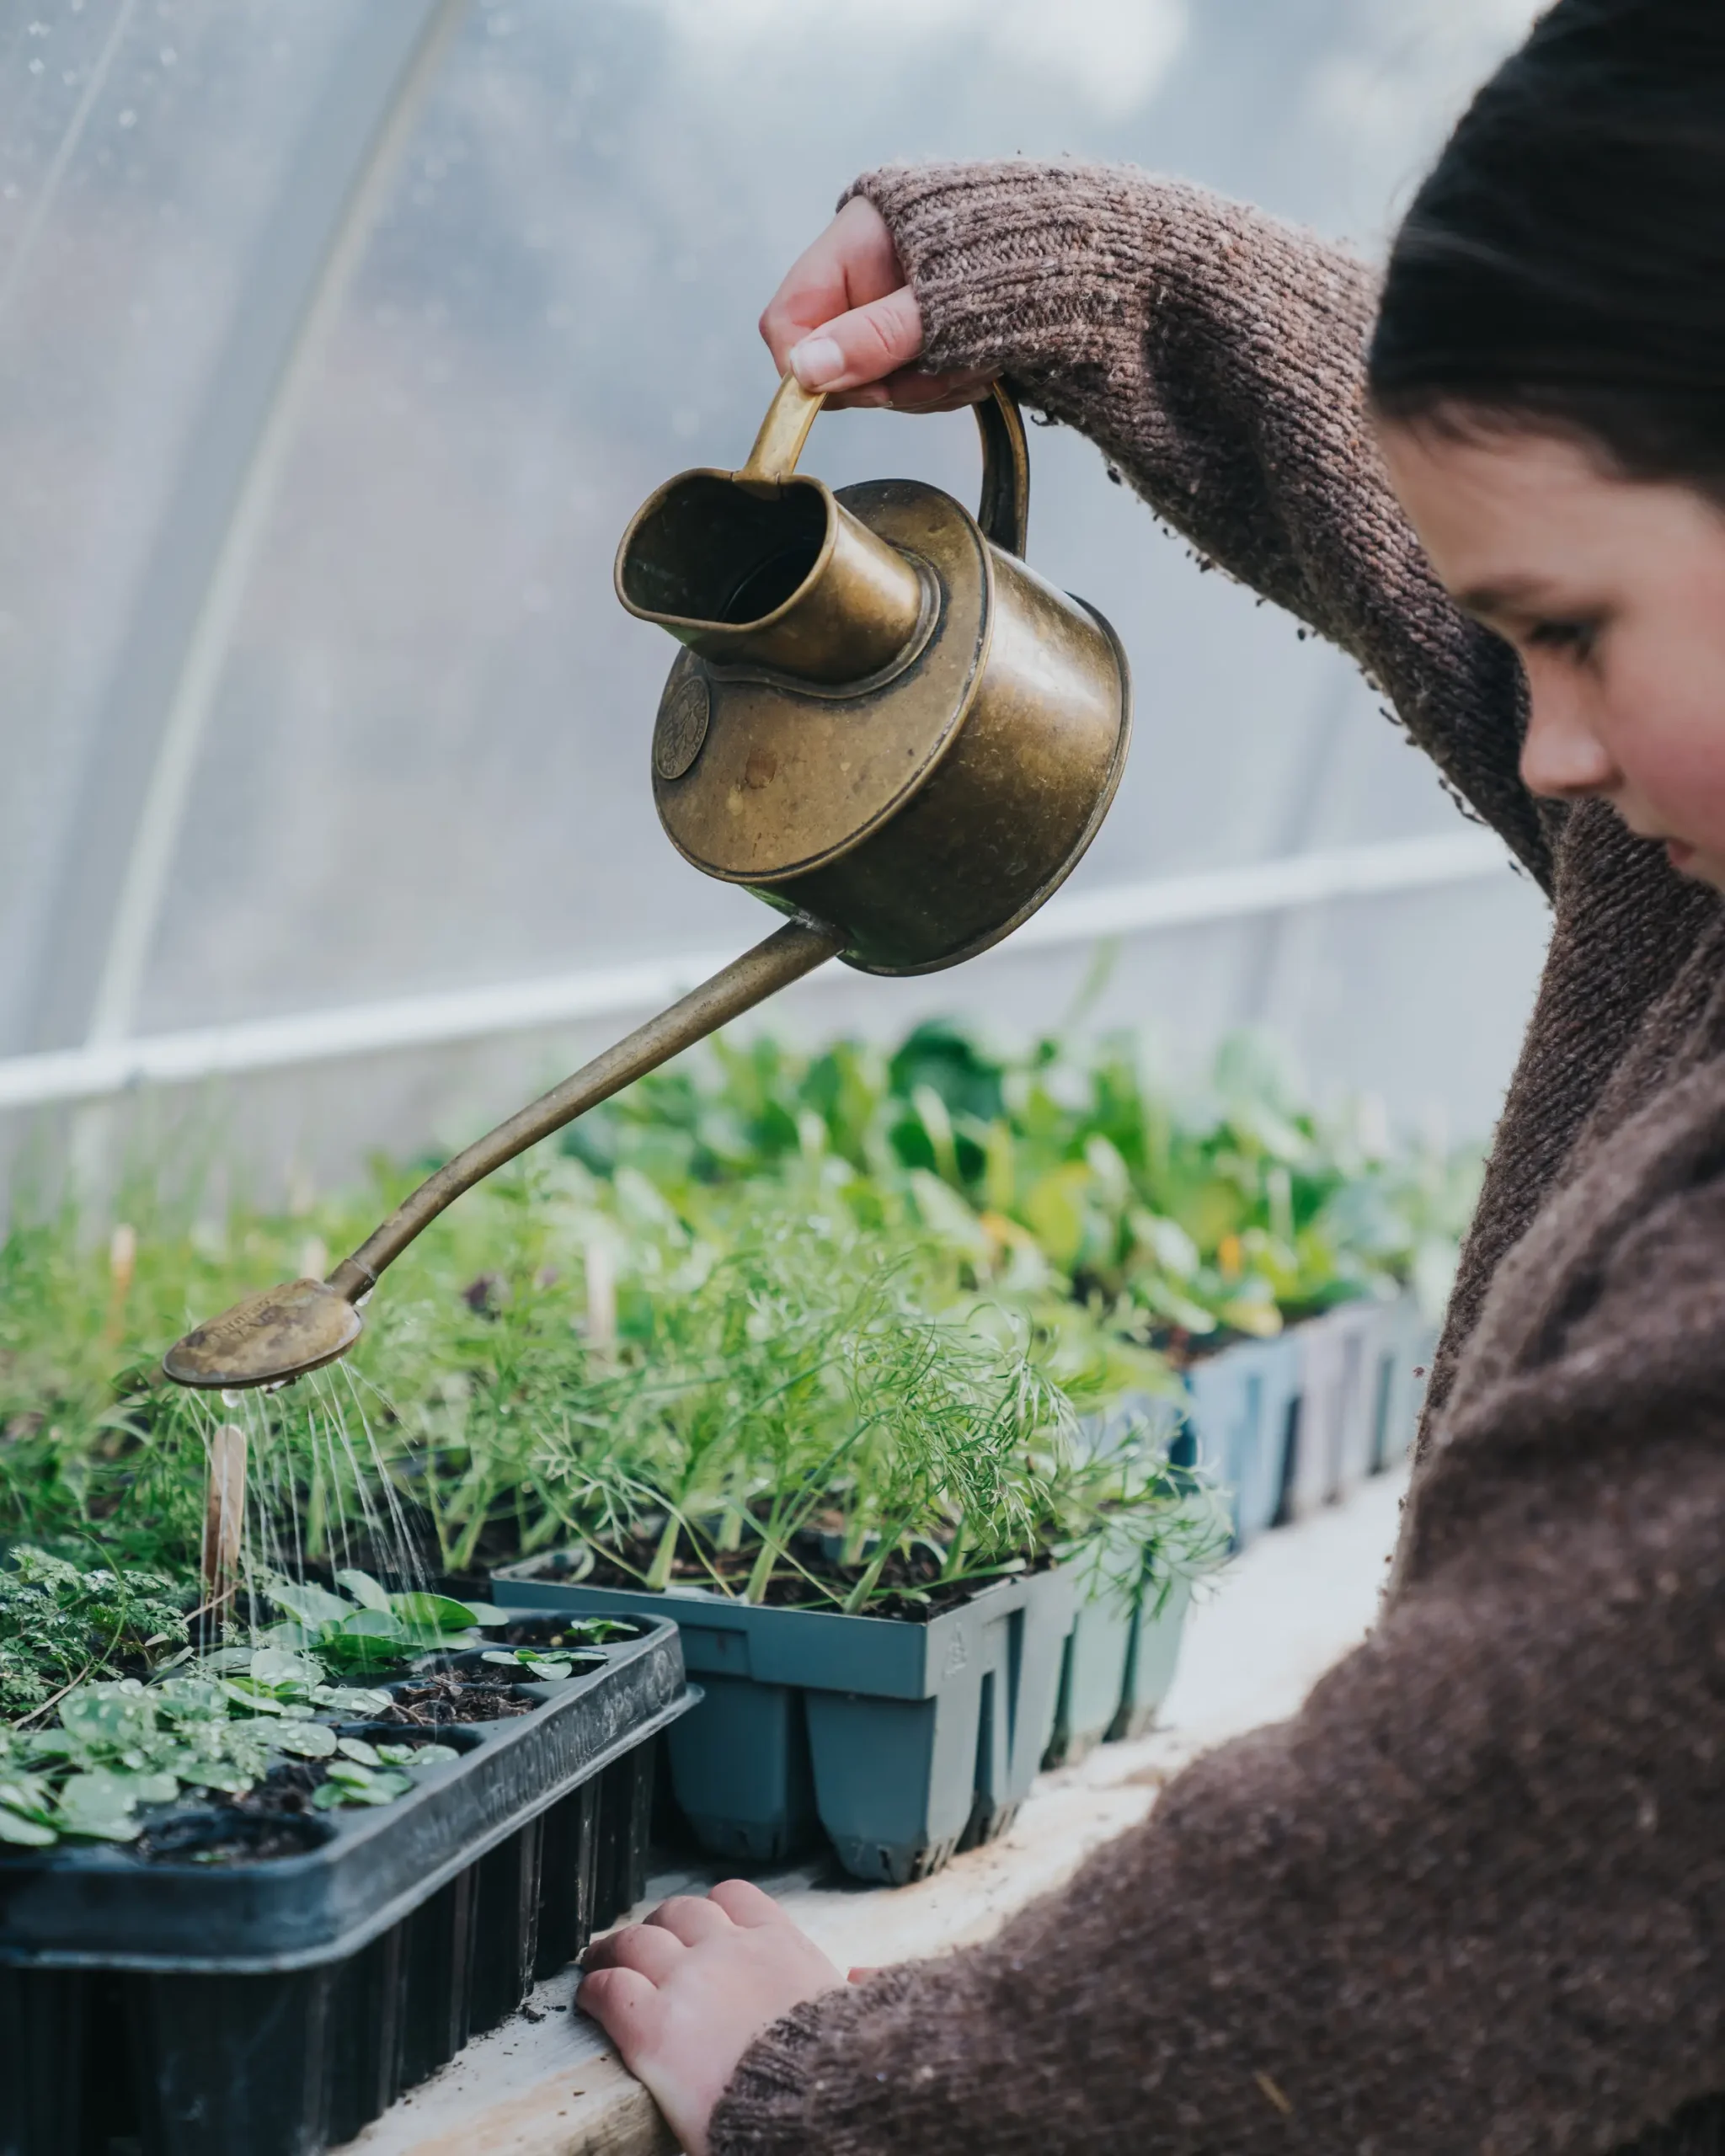
Water Management- Guide to watering your Greenhouse Posted on March 10, 2025April 30, 2025 by info@morrifield.com
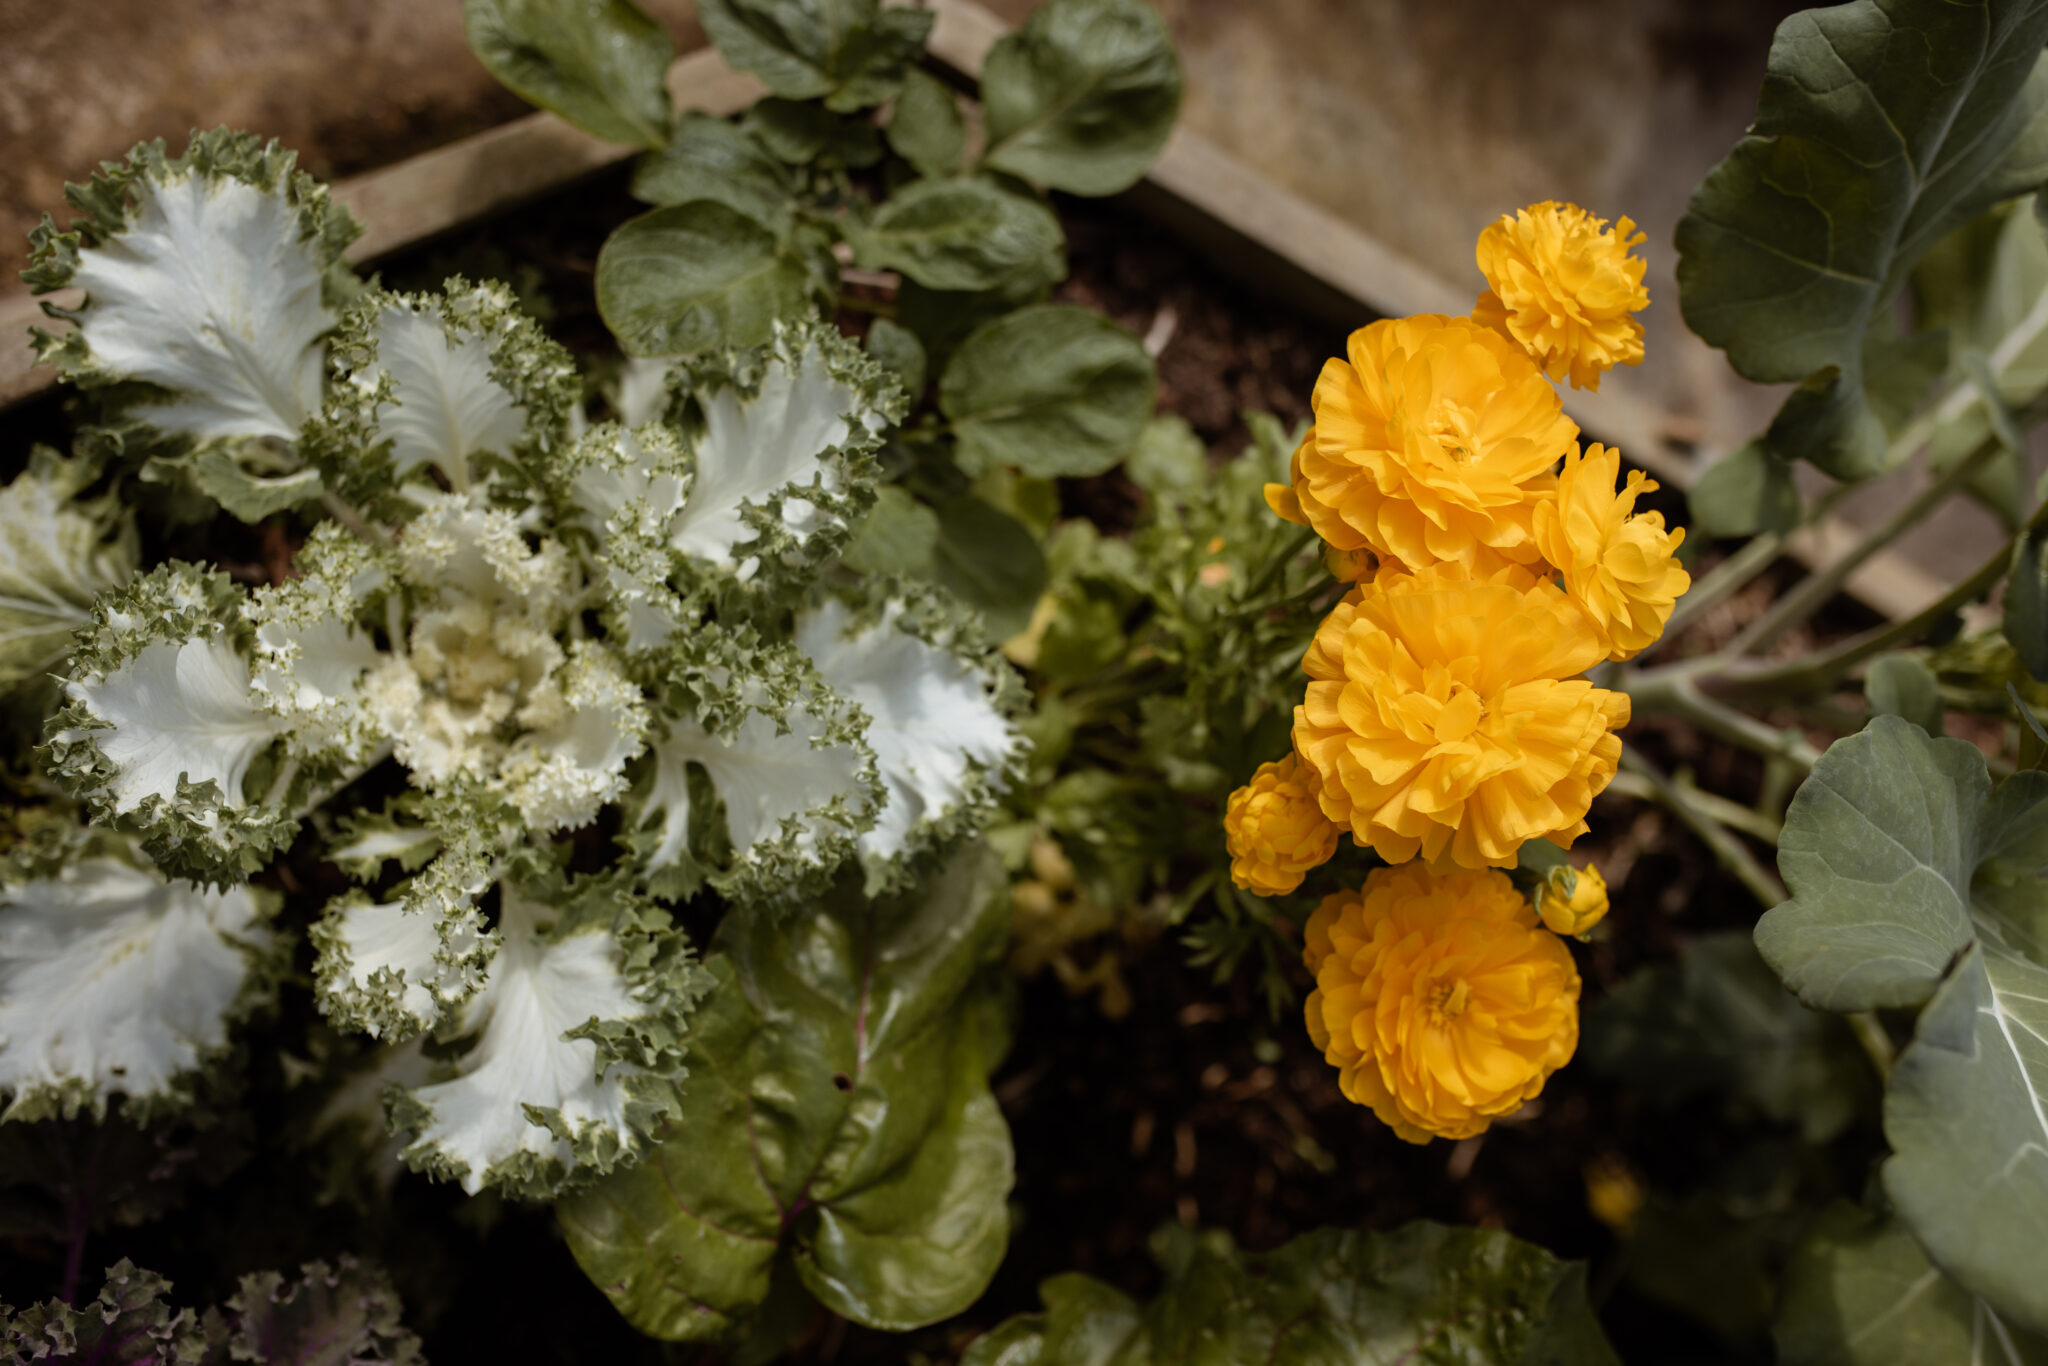
Prepare Your Greenhouse for Cooler Temperatures in New Zealand Posted on February 3, 2025April 30, 2025 by info@morrifield.com