Seed Raising – Save $$ Sow your own seeds
April 1, 2025
Switch-over time is here
*Important: seed raising mix and other garden materials can cause disease – be sure to wear a mask and gloves when handling them, and follow all instructions on bags and containers before opening and using.
Daylight hours are reducing, and autumn is in the air. For tunnel house growers in warmer parts of the country, this signals the time to start sowing the seed of winter and early spring undercover crops. For growers in colder parts of the country, the time has likely passed to get the seed of winter staples such as leek, brassica and lettuce, into the ground. However, you can still purchase seedlings to plant in the tunnel house, and there is time to sow the seed of fast-growing Asian greens as well as spring onion and leafy herbs such as coriander and dill.
Know and grow
Growing your own seedlings is a smart choice. Not only will you save money, but you’ll also avoid bringing unwanted pests or diseases, like clubroot or sclerotinia rot, into your garden. Growing your own seedlings also means you’re in control of their care; you know exactly what conditions the plants have been through (poorly cared-for seedlings are more likely to bolt to seed rather than produce healthy vegetables). So, with that in mind, let’s get to grips with how to grow from seed for the tunnel house.
Collect and clean
Seed sowing is easy when you get into the swing of. To start, collect up all useful seedraising containers and make sure each one has drainage holes in its base. You may choose to recycle containers you already have, or to head to a garden centre such as Mitre 10 where used seedling containers are often available free of charge. Steer clear of egg cartons as seed sowing containers – they will only wick the water away from soil and growing roots. Also refrain from growing in the likes of half orange skins, as they can provide a home for disease. Egg shells offer too small a space for growing seedlings.
Wherever you get you containers from, they will need to be sterilised so that you don’t introduce disease into the germinating seed. To sterilise, don your waterproof gloves, and scrub the containers with a brush to remove dirt and dust. When the containers are clean, submerge them in a bucket of bleach which as been diluted according to the instructions on the container.
Lots of labels
Don’t be fooled into thinking you will remember what you sowed into each container – weeks down the track, you won’t! Instead, purchase labels or cut them from the likes of an old yoghurt pottle. Use a waterproof pen or gardening pencil to write on the labels the names of the seeds you will be sowing.
Set up space
Next, set up a section of your tunnel house with a seed bench (an opshop table can be the answer). If you are short on space, consider purchasing staged (stepped) shelving. It allows containers to be shelved at different levels but gives an equal share of the sun to all. Lay your containers out on your bench or shelving with the appropriate label beside each.
Seed Raising Mix
A tunnel house environment offers conditions that are warmer and drier than those outdoors. For that reason, if you’re new to growing seeds undercover, it’s best to start with a commercial seed raising mix which holds in a sufficient amount of moisture for seed germination to occur, while also being free draining. Commercial mixes that include vermiculite help retain moisture and encourage drainage, as do those that contain peat. If, for reasons of sustainability, you want to avoid mixes which contain peat, you can add a few handfuls of soaked coconut coir to your seedraising mix. Garden coir comes in a dry brick form, and expands once soaked in water. If you don’t want to use the whole brick, simply saw off a portion.
Whatever seedraising mix you choose, always look for one that is fine-textured (you may need to ‘squeeze’ the bag to check), as some cheaper options may contain large pieces of bark that could block tiny seeds from pushing through the ground. It’s also wise to read product reviews before making your purchase.

You can save money by using leftover seed from a previous gardening season, even if it is past the sowing date recommended on the packet. However, bear in mind that ‘older’ seed may have a lower germination rate than fresh seed. And that very old seed may not germinate at all. To check your seed viability, ‘chit’ it before sowing. To do this, place a good pinch of seeds on a wet paper towel, cover them with plastic to retain moisture, and place them in a warm (but not hot) spot for the recommended germination period, plus a few extra days. If only a portion of the seed germinates, sow more seed than you actually want into your seed containers. If no seed germinates, it’s time to head to the garden centre for a fresh packet.
Ready, set, sow!
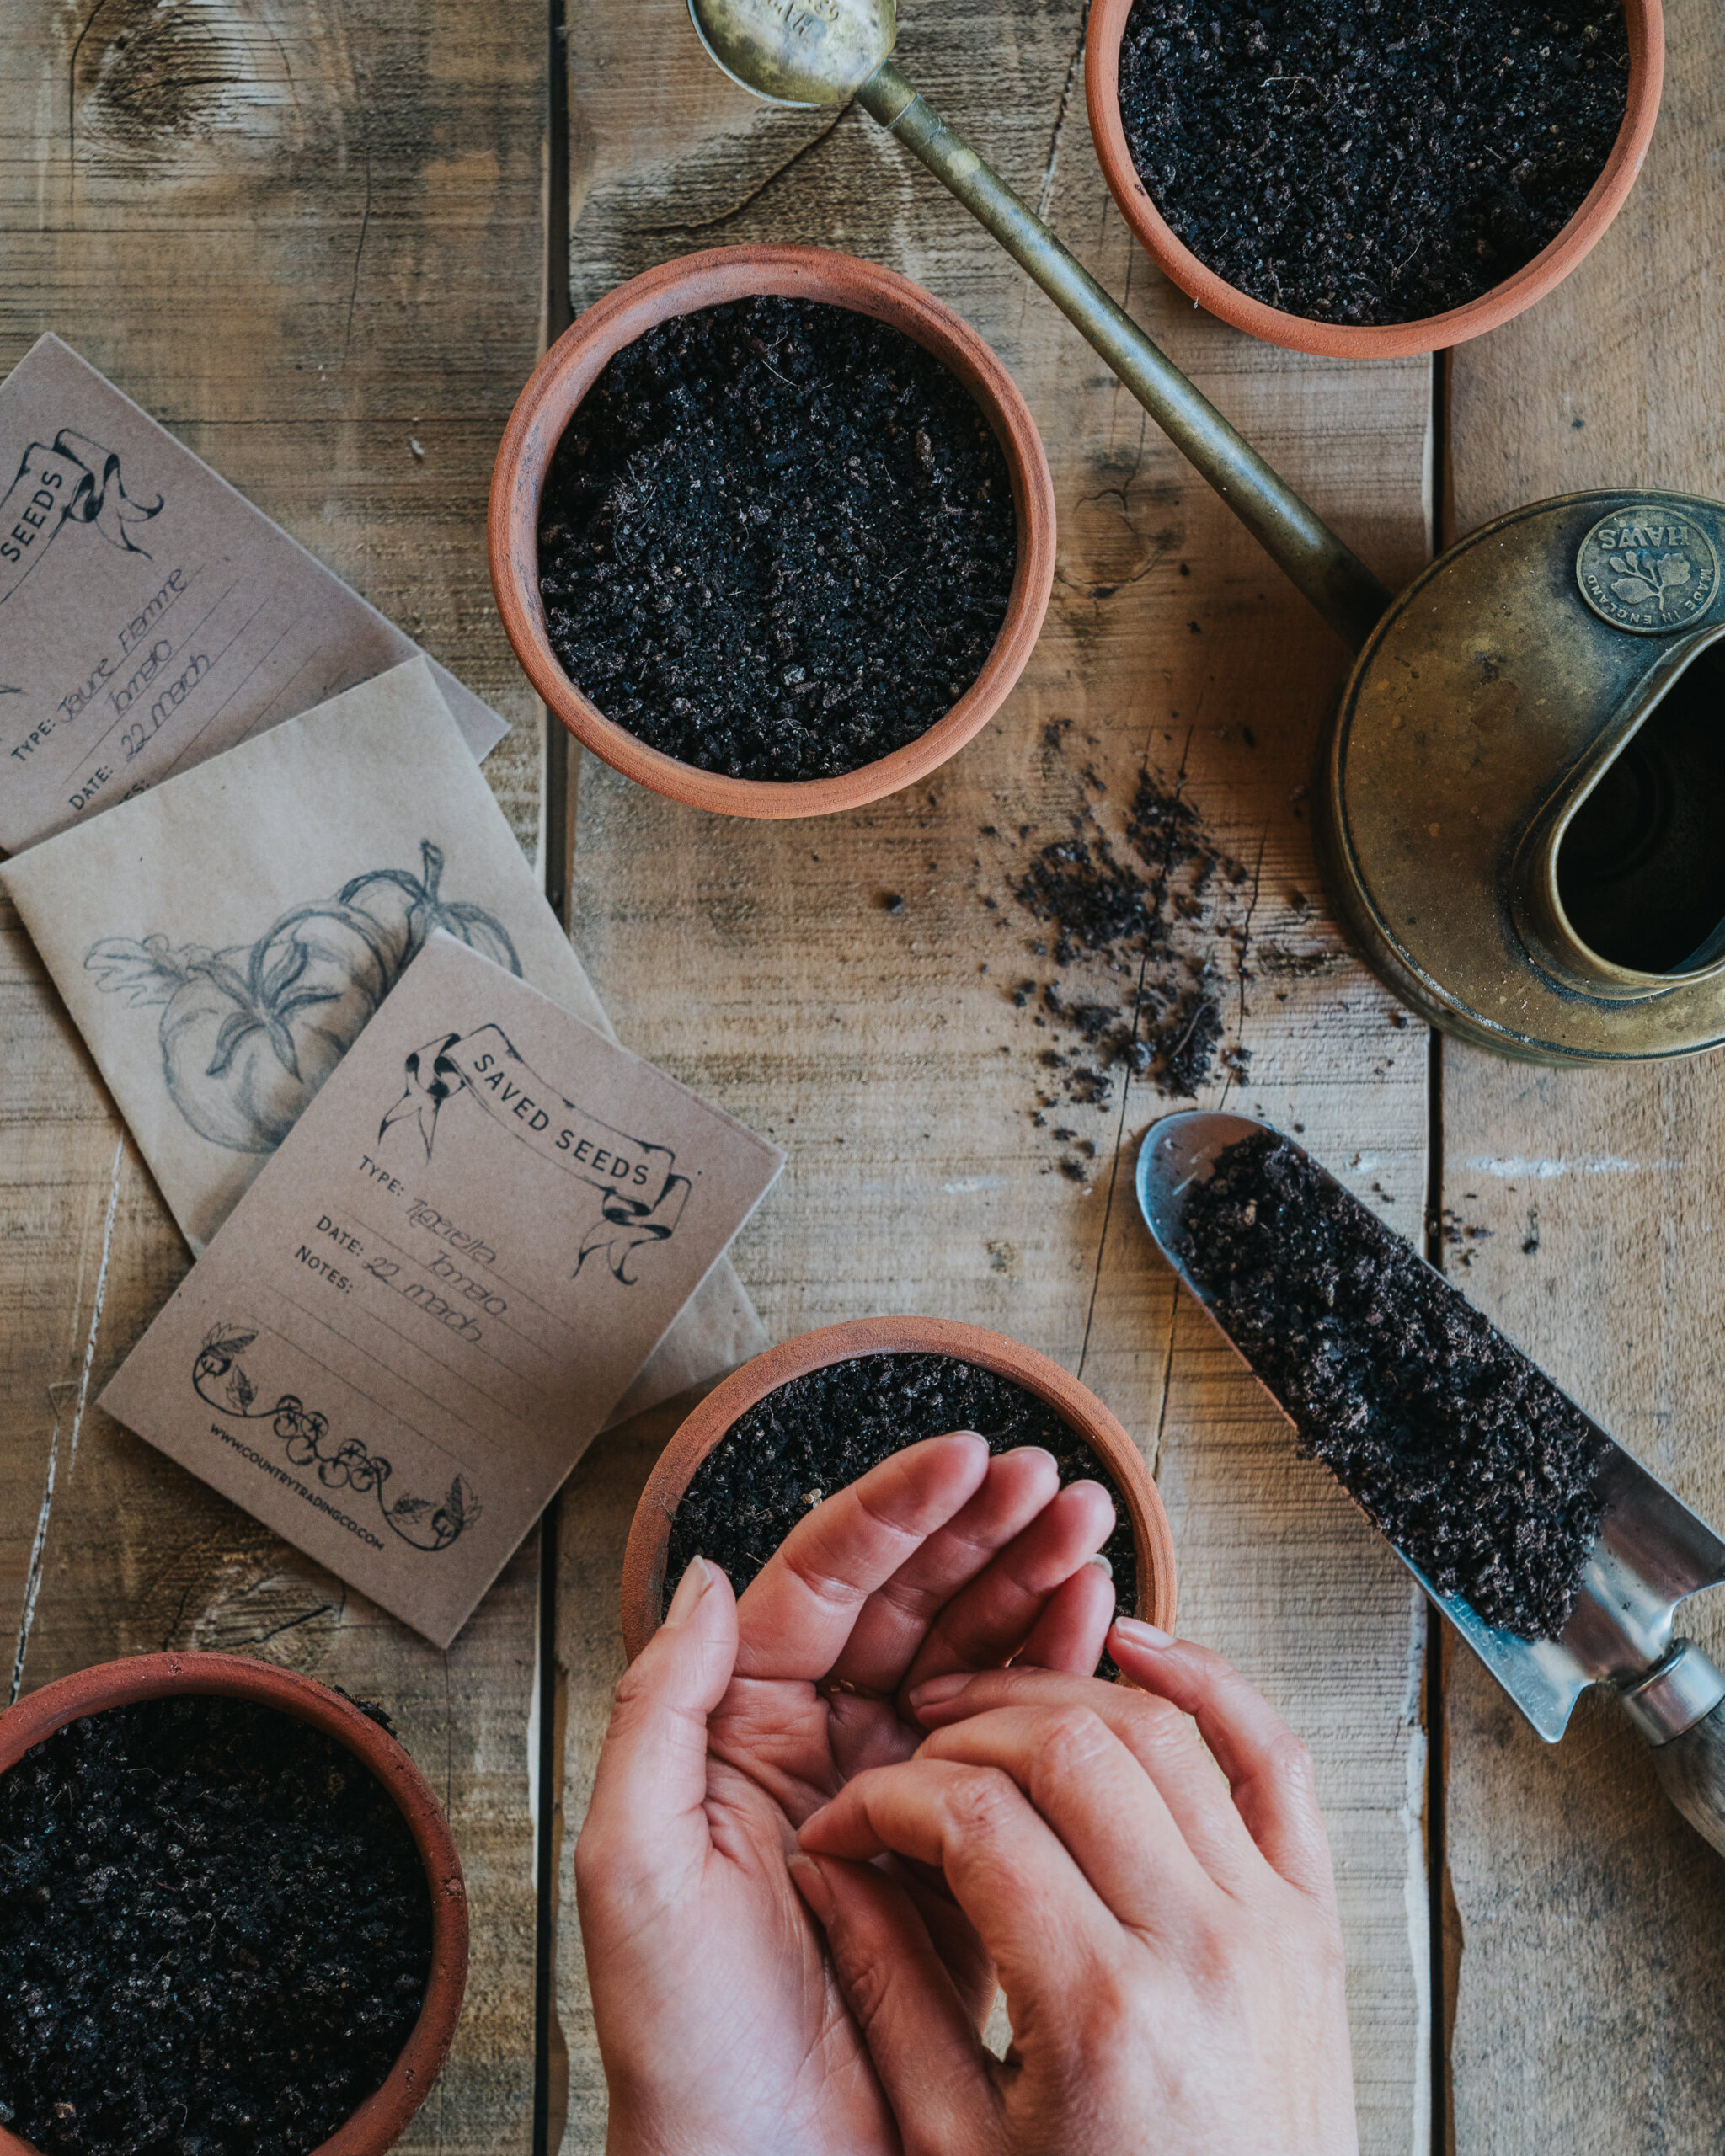
Fill your sterilized containers with seed-raising mix, almost to the top, and place them in a shallow dish of water to allow the mix to absorb moisture. Remove the containers from the water and allow them to drain for an hour or two. Following the instructions on your seed packet, sow the seed you require (remember, just a tiny pinch goes a long way!). Cover the seed with mix to twice the its depth (unless the packet states not to). Some seed sowers like to tamp down the soil lightly on top of their seeds, but this is not necessary unless the seed is to remain uncovered. Lastly, pop your label into the seed container.
Ventilation and watering
Humidity can help attract fugal disease to germinating seed and seedlings. During the day, open tunnel house doors and vents to allow air to circulate. Avoid birds entering and scratching up germinating seed by covering these openings with bird netting (a screen door, which can be purchased from Morrifields, is very helpful). While the seed is germinating, avoid using a watering can to water the containers of mix. Instead, used a spray bottle of warter. Seedraising mix can dry out quickly in a tunnel house so you may need to spray water twice daily in warm conditions.
Pricking out.
The process of moving tiny, crowded seedlings to their own, individual, growing space is referred to as ‘pricking out.’ As soon as your seedlings have two true leaves (not the first two ‘seed leaves’ but leaves that resemble those of the plant they will grow into), it’s time to prick out. The best new home for tiny seedlings is a coir plant pot filled with appropriate commercial gardening mix or your own compost. Coir plant pots can be planted directly into your greenhouse soil where they will slowly decompose. This avoid any root disturbance to the newly planted seedlings.
Start the pricking out process by using an old kitchen fork (kept for use only in the garden), to gently loosen the tiny seedlings from the growing mix. Using tweezers, and holding each seedling by its it no deeper in the growing mix than it was before. Gently firm the soil around the seedling. Use a small jug to water the seedling into place. Place the planted seedling in a spot where it will get plenty of sunlight, and water it as required.
Seedlings soon outgrow their pots. You will know it is time to give them a final home in the tunnel house bed when you see signs of roots coming through the drainage holes of their container (or even growing through the sides of the container if they are in a coir pot). When this happens, you can congratulate yourself for having raised a healthy seedling which is ready to go into its final home!

 May Madness