Spring Sprinters – Container growing
June 2, 2025
Forging Ahead with Tunnelhouse ‘Spring Sprinters’
The end of autumn can feel like the end of the gardening season, but when you have a tunnelhouse, the growing is only just getting going! Once your spent summer plants have been removed from your tunnelhouse, and your winter croppers have taken their place, it’s time to start thinking about ‘spring sprinters.’ These are the plants that we grow over winter in individual containers in the tunnelhouse in order to give them a healthy head start in spring. By growing these tasty treats undercover during the winter months, they develop the strong root systems and healthy foliage that provides resistance to spring cold snaps. Which means these plants will forge ahead outdoors the moment warm weather arrives. When choosing spring sprinters for the tunnelhouse, consider your regional conditions. In mountainous areas, it may be necessary to provide your little potted goodies with a layer of loose frost-cloth as well as the protection of the tunnelhouse. Before we look at suitable spring sprinters, let’s get some basics under our belts.
Containers
Most plants resent root disturbance. As your spring sprinters will eventually be transplanted outdoors into your edible beds, avoid this ‘relocation shock’ by growing them in biodegradable coconut coir pots. At transplanting time, the entire pot, plant, soil, and all, can be popped into the garden, avoiding any root disturbance.
Growing medium
While the shelter of a tunnelhouse environment means your spring sprinters won’t become waterlogged (unless you are heavy handed on the moisture!), once they are transplanted outdoors in spring, good drainage becomes an issue, especially in a wet season. Start as you mean to go on by creating a free-draining growing medium comprising (by volume) 50% sterilised compost, 25% rehydrated coconut coir seedraising mix, and 1/4 perlite. Add a scattering of slow-release fertiliser pellets designed for vegetables, or sterilised animal manure.
Positioning
Potted plants require their fair share of light. The best way to provide this in the tunnelhouse is with Morrifield greenhouse workstations available on our parts page. Or you can build your own using bricks and wide boards made from untreated timber, but take care to ensure the construction is stable and strong enough to support the weight of the pots.
Protection
Slugs and snails are on the lookout for tender new growth in winter. Where it is safe to do so (think child- and pet-safety), place shallow containers of slug and snail bait close to your potted plants to deter these pests before they attack your young edibles.
Watering
Generally speaking, container plants in winter require just a modicum of moisture. However, in a tunnelhouse environment, where conditions quickly heat up as soon as the sun makes an appearance, rapidly growing plants may require water 2-3 times a week. The rule, over winter, is to water container grown plants only when required (when the soil feels damp to the touch), and then, sparingly. Don’t, for instance, water to the point that you can see water flooding (or even trickling) from the drainage hole. Over-watering is a recipe for die-back and fungal disease.
Ventilation
Without your help, the tunnelhouse environment is a still one, yet air movement is the key to reducing fungal disease. Space your spring sprinters so that the foliage from one pot doesn’t touch the foliage of another, and open door and window vents, even on cooler days (a mesh door, or a net covering over an open door, will be necessary to keep out birds during the ‘hungry seasons.’ Note: sliding mesh doors are available for Morrifield tunnelhouses, and they are invaluable.
Suggestions for spring sprinters
Garlic
Garlic has traditionally been sown on the shortest day of the year. However, with the arrival of allium rust in many parts of the country, many gardeners are planting their garlic in autumn. This way, the plants are in a good position to withstand the first onslaught of this nasty disease when it arrives in late spring. Choose the largest, fattest cloves to sow into your coir pots, pressing them into loose growing mix to twice their depth, and covering them with soil. Keep the growing medium damp but never moist. Garlic is a gross feeder, so ing a dash of liquid seaweed tonic to the watering can is a great way to provide nutrients. If your garlic happens to send up a solid central stem (called a scape) while in its pot or your garden, pinch it out. Once warmer weather arrives, the garlic can be kept in the tunnelhouse until its roots are visible through the drainage hole or the walls of its container, or it can be transplanted outside right away.
Shallots
Shallots are one of the earliest plants (bulbs) to go into the spring garden but they tend to wait until warmer weather before they send up their green shoots. Tunnelhouse-started shallots will put on green growth over winter, giving them a quick start when transplanted outdoors. When planting shallots into individual pots, plant a few ‘sacrificial’ ones from which can be harvested snippings of green for winter salads. These shallots, can be transplanted into the garden at the start of spring, along with the others, and although the ‘sacrificial’ ones may not multiply to produce more shallots, they will still keep producing green tops throughout spring and summer. To plant your shallots into containers, press the bulbs firmly (one to a pot) 1-2 cm into the growing medium, with roots facing down into the soil. At first the bulbs will sit there loosely, but as their roots develop, they will ‘anchor themselves’ into the ground. Shallot roots develop quickly so transplant the bulbs, still in their containers, into the garden at the first hint of spring.

Chives
Chives respond to any hint of warmth, which is why they are one of the very first herbs to pop through the ground in spring. If you are sowing them from seed, first raise them on a seedraising pad or indoors, under a piece of glass, on a sunny windowsill. Once through the ground, prick out the seedlings, in clusters, into a choir pot. Chives are shallow rooted so choose a pot that that is approximately 15cm in diameter. If growing from an existing clump, dig this up in mid to late autumn and pot on into a wide coir container of a depth which allows for several more centimetres of root growth. Chives enjoy a moist growing medium which is free draining, which means you may need to water them more often in the tunnelhouse environment than would your other container grown plants. Don’t wait until spring to harvest from your clump of chives – this robust little herb, when snipped down to no less than 4cm – grows back after a trim! In fact, trimming its foliage can help the clump to bush out.
Broad beans
While many growers in warmer regions sow their broad beans outdoors in autumn, those in colder parts of the country find that harsh weather conditions are behind the rust that can set in and knock back new foliage. Give the beans a healthy start by sowing the seeds, 3 to a container at twice their depth, into loose growing medium. Some growers prefer to sow their broad beans just a few millimetres under the surface to allow for greater space for the fast developing roots – this works, too. Broad beans are robust and can generally wait for food until they arrive in their nutrient-rich outdoor bed. Keep a watch over winter for red spider mites or aphids that may be over-wintering in the tunnelhouse and, if you spot them on the beans’ leaves, squish them with gloved fingers.

Peas (podding, sugar snap, and snow pea varieties)
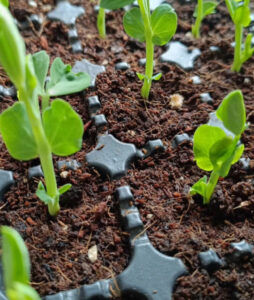
As with broad beans, peas can be sown outdoors in autumn, but in wetter, colder regions, they seldom thrive. A better start is obtained by sowing the seed (3-4 to a container), in growing medium enriched with a teaspoon of garden lime. Don’t be tempted to soak the seed before you sow it. In late autumn or winter conditions, even in the tunnelhouse, this can encourage the seeds to rot before they germinate. Once the shoots appear, keep the soil damp but never moist. If the weather is unseasonably warm over winter, move the plants outdoors during the day (peas don’t like conditions that are too warm) and return them to the tunnelhouse at night. Alternatively, pop them in their containers in a section of the tunnelhouse where they will be shaded by other other plants, such as brassica. Peas will signal, when their roots are visible through the base or sides of their coir container, that they are ready to be transplanted outdoors. If the weather is particularly inclement, delay transplanting by heeling the containers into the tunnelhouse bed. At transplanting time, remove the plants, still in their containers, and with a little of the tunnelhouse bed soil as well, taking care to disturb roots as little as possible.
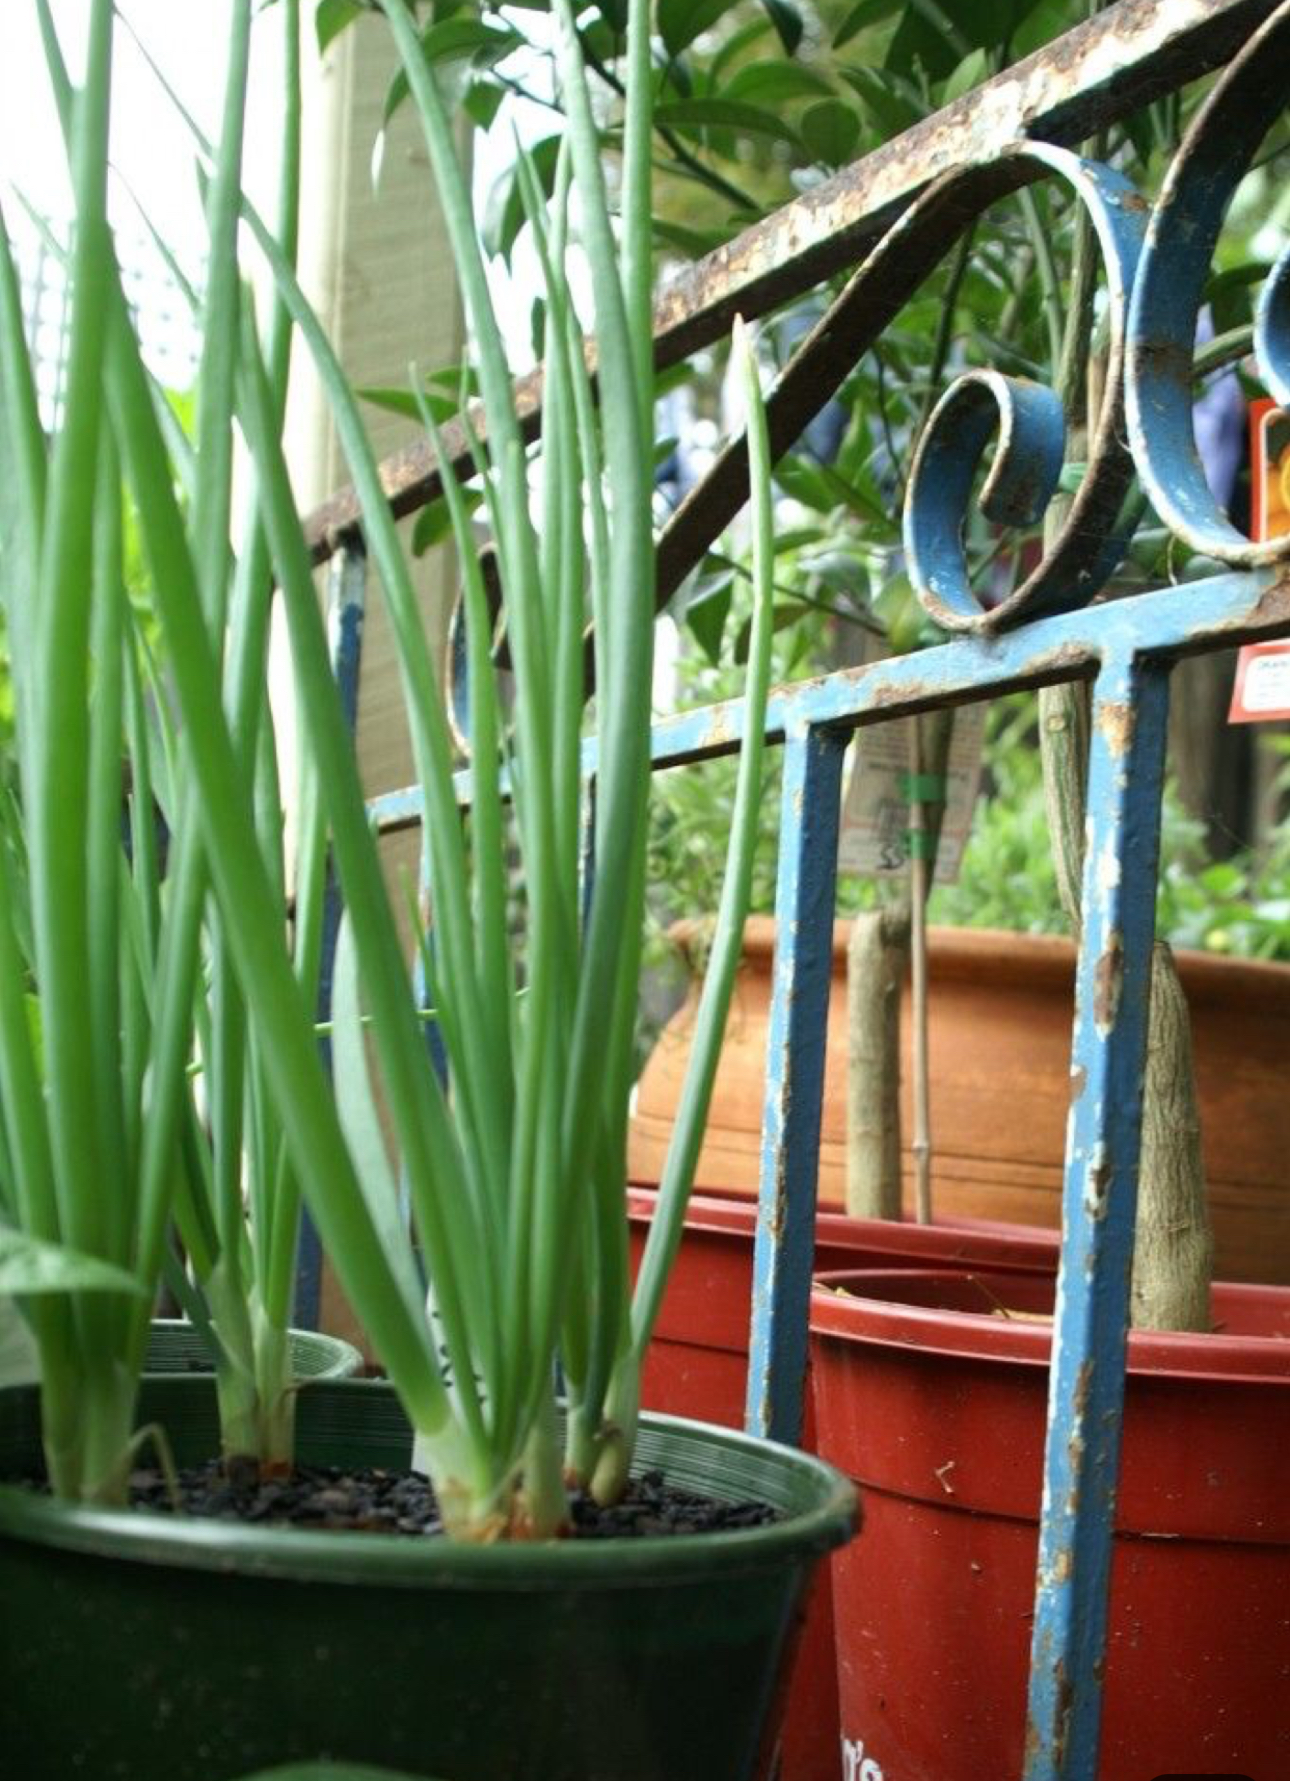
Spinach and spring onion are satisfying to grow from seed as they thrive in the winter tunnelhouse conditions which are neither too hot nor too cool for them. Scatter the seed of these plants on top of pots of growing medium, and cover to twice their depth with fine, sieved soil. Don’t be tempted to press down on the sowings. Instead, gently settle the seed into the mix by spraying the growing medium from a spray bottle of water. Keep moisture to a minimum until the seeds have germinated, and then apply sparingly every 2-3 days or as required.
Other spring starters to sow and grow in the tunnelhouse
parsley (seed)
perennial rocket (seed)
rhubarb (seed or divisions)
sorrel (root cuttings)
strawberry (runners)
By using your tunnelhouse to start spring plants, you can get a pleasing head start once it’s warm enough to garden outdoors. And until it is, you’ll have the fun of watching your healthy tunnelhouse plants leap ahead in bounds!