Skip to content
Home
The Morrifield Story
Why Choose Morrifield
Retailers
Garden Advice & FAQs
Contact Us
Tunnelhouses
Polycarbonate
Crop Protection
Parts & Accessories
Commercial
Home
The Morrifield Story
Quality Tunnelhouses For Sale in NZ
High-Quality Crop Protection Tunnelhouses
NZ’s Best Polycarbonate Greenhouses For Sale
Commercial Greenhouses – Coming Soon.
Quality Greenhouse Parts & Accessories in NZ
Why Choose Morrifield
NZ Greenhouse Retailers
Gallery
Gardening Advice & Tips
Contact Us
NATIONWIDE DELIVERY
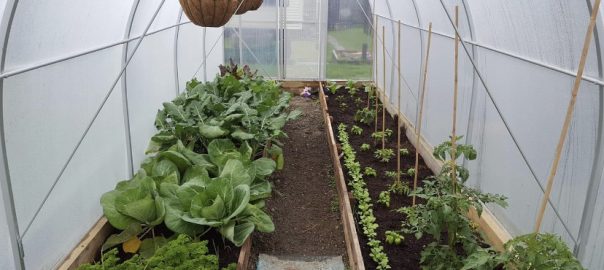
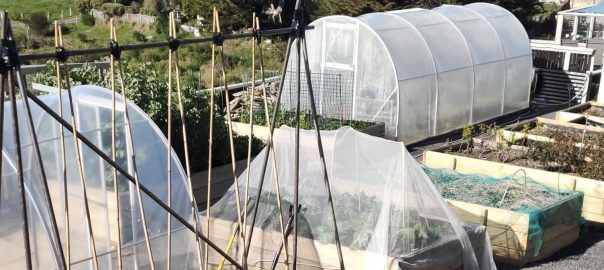
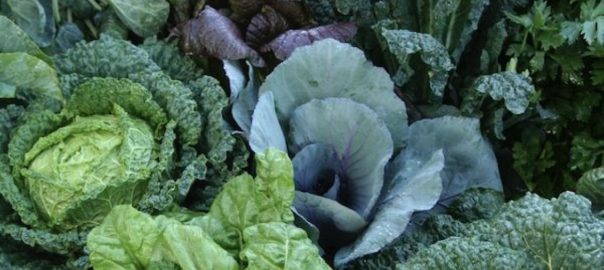
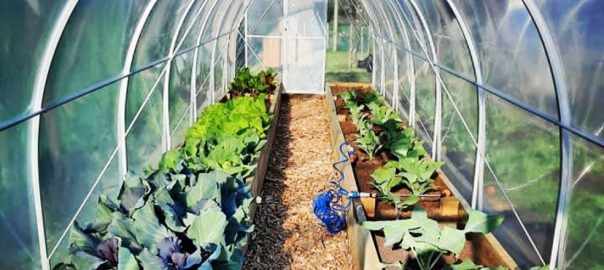
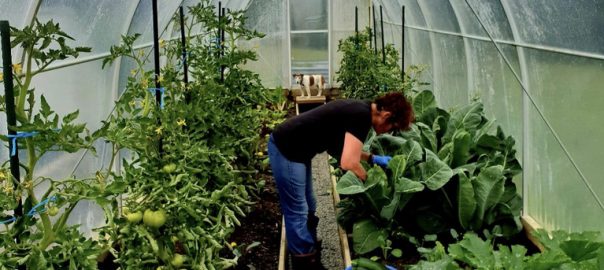
AUGUST IN THE TUNNELHOUSE, SPRING COUNTDOWN BEGINS!
Author:
kwd
AUGUST IN THE TUNNELHOUSE, SPRING COUNTDOWN BEGINS!
Posted on
May 19, 2023
August 11, 2023
by
kwd
JULY IN THE TUNNELHOUSE AND WINTER IS HERE!
Posted on
May 19, 2023
August 11, 2023
by
kwd
JUNE IN THE TUNNELHOUSE AND WINTER’S ON ITS WAY!
Posted on
May 19, 2023
August 11, 2023
by
kwd
MAY IN THE TUNNELHOUSE AND AUTUMN HAS ARRIVED!
Posted on
May 19, 2023
May 19, 2023
by
kwd
APRIL IN THE TUNNELHOUSE, AUTUMN IS KNOCKING..
Posted on
May 19, 2023
May 19, 2023
by
kwd
Posts navigation
Newer posts